 |
|||
|
|
|||
|
|
|||
| ||||||||||
|
|
 TM 9-2320-312-24-2
Truck Engine
Disassembly and Assembly Section
The crankshaft must be free of oil at the contact
i01738512
points of Tooling (A).
Bearing Clearance - Check
1. Put a piece of Tooling (A) on the crown of the
SMCS Code: 1203-535; 1219-535
bearing that is in the cap.
Measurement Procedure
Note: Do not allow Tooling (A) to extend over the
edge of the bearing.
Table 46
Required Tools
order to install the bearing cap. Do not use an
Part
impact wrench. Be careful not to dislodge the
Tool
Part Description
Qty
Number
bearing when the cap is installed.
1
198-9142
Plastic Gauge
Note: Do not turn the crankshaft when Tooling (A)
1
198-9143
Plastic Gauge
is installed.
A
1
198-9144
Plastic Gauge
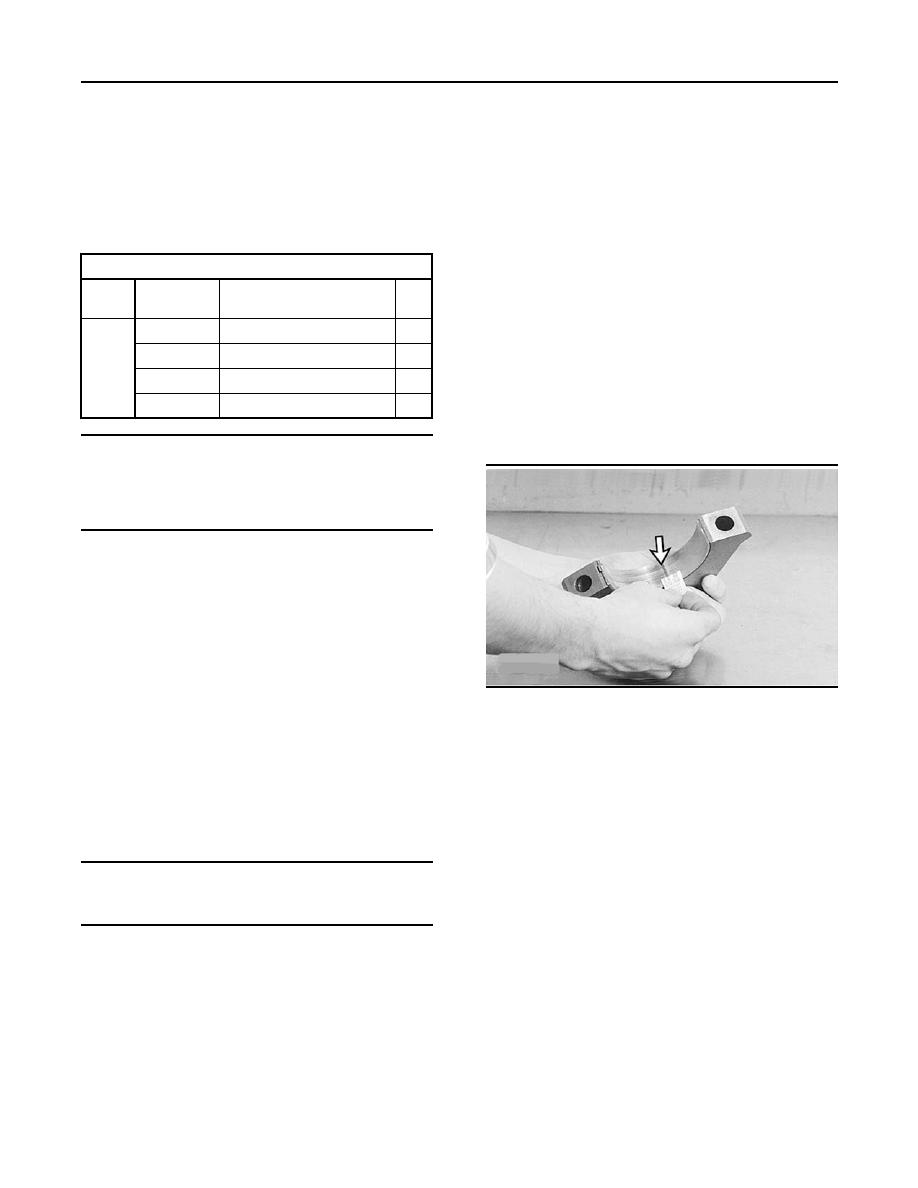
3. Carefully remove the cap, but do not remove
1
198-9145
Plastic Gauge
Tooling (A). Measure the width of Tooling (A)
while Tooling (A) is in the bearing cap or on the
crankshaft journal. Refer to Illustration 239.
NOTICE
Keep all parts clean from contaminants.
Contaminants may cause rapid wear and shortened
component life.
Note: Caterpillar does not recommend the checking
of the actual bearing clearances particularly on
small engines. This is because of the possibility of
obtaining inaccurate results and the possibility of
damaging the bearing or the journal surfaces. Each
Caterpillar engine bearing is quality checked for
specific wall thickness.
Note: The measurements should be within
g00473227
Illustration 239
specifications and the correct bearings should
be used. If the crankshaft journals and the bores
Typical Example
for the block and the rods were measured during
4. Remove all of Tooling (A) before you install the
disassembly, no further checks are necessary.
bearing cap.
However, if the technician still wants to measure the
bearing clearances, Tooling (A) is an acceptable
Note: When Tooling (A) is used, the readings
method. Tooling (A) is less accurate on journals
can sometimes be unclear. For example, all
with small diameters if clearances are less than
parts of Tooling (A) are not the same width.
0.10 mm (0.004 inch).
Measure the major width in order to ensure that
the parts are within the specification range. Refer
NOTICE
to Specifications, "Crankshaft" for the correct
Lead wire, shim stock or a dial bore gauge can dam-
clearances.
age the bearing surfaces.
The technician must be very careful to use
Tooling (A) correctly. The following points must be
remembered:
Ensure that the backs of the bearings and the
bores are clean and dry.
Ensure that the bearing locking tabs are properly
seated in the tab grooves.
|
|
Privacy Statement - Press Release - Copyright Information. - Contact Us |