 |
|||
|
|
|||
|
|
|||
| ||||||||||
|
|
 TM 9-2320-312-24-2
Truck Engine
Disassembly and Assembly Section
1. Position installation sleeve (2). Use Tooling (A) to
install crankshaft front seal (1).
Note: The crankshaft seal is designed to be installed
dry.
2. Remove installation sleeve (2) from the crankshaft
front seal. Ensure that the seal surface of the
crankshaft pulley is thoroughly clean and dry.
Ensure that the seal surface of the crankshaft
pulley is in good condition.
End By:
a. Install the vibration damper and the pulley.
Refer to Disassembly and Assembly, "Vibration
Damper and Pulley - Remove and Install".
i01153795
Front Cover - Remove
g00612568
Illustration 160
SMCS Code: 1166-011
Note: The front pulley was removed and the damper
was removed for better photographic illustration.
Removal Procedure
The air compressor was removed in order to
accommodate the engine repair stand.
Start By:
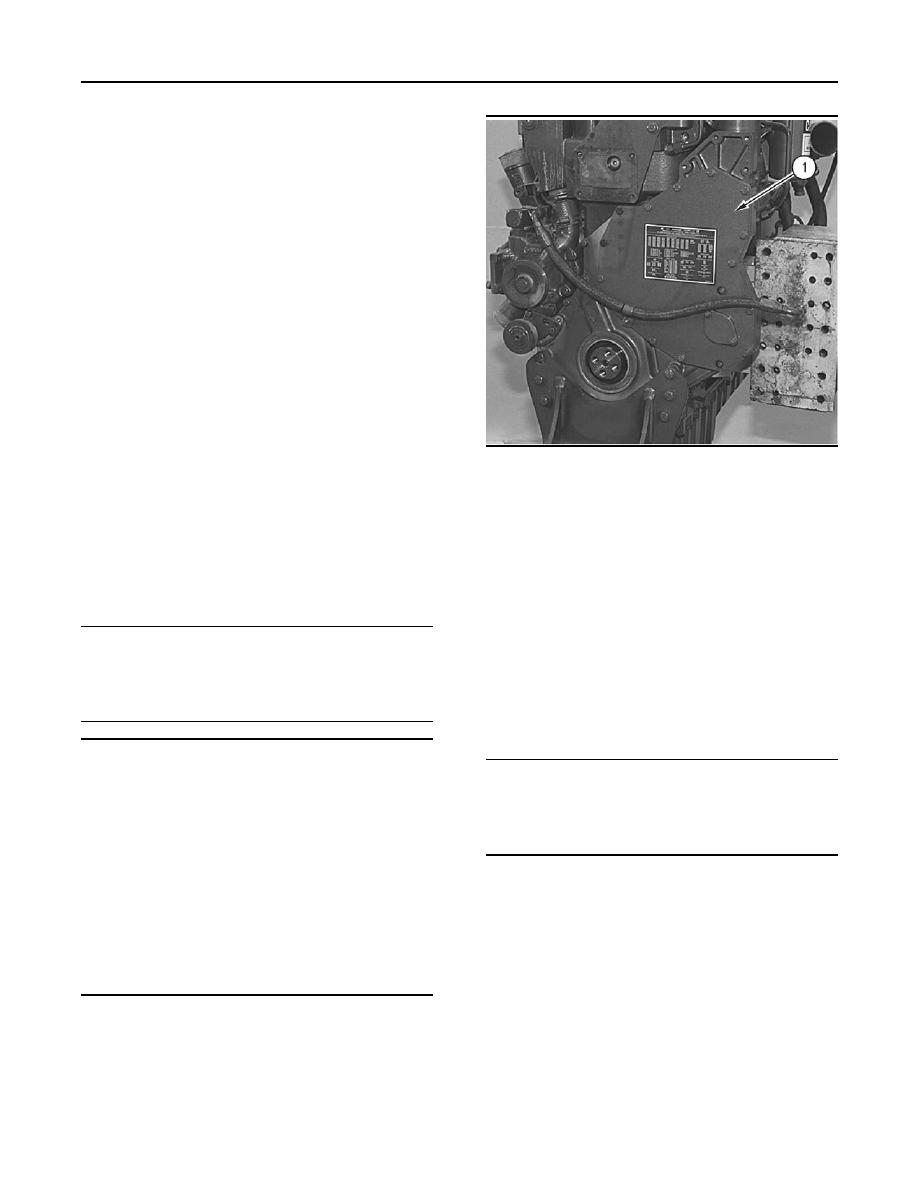
1. Remove the bolts and front cover (1) from the
a. Remove the fan drive. Refer to Disassembly and
front housing.
Assembly, "Fan Drive - Remove".
i01153809
NOTICE
Keep all parts clean from contaminants.
Front Cover - Install
Contaminants may cause rapid wear and shortened
SMCS Code: 1166-012
component life.
Installation Procedure
NOTICE
Care must be taken to ensure that fluids are contained
NOTICE
during performance of inspection, maintenance, test-
Keep all parts clean from contaminants.
ing, adjusting and repair of the product. Be prepared to
collect the fluid with suitable containers before open-
Contaminants may cause rapid wear and shortened
ing any compartment or disassembling any compo-
component life.
nent containing fluids.
Note: The rear face of the cover and the front face
Refer to Special Publication, NENG2500, "Caterpillar
of the housing must be clean.
Tools and Shop Products Guide" for tools and supplies
suitable to collect and contain fluids on Caterpillar
1. Inspect the condition of the housing cover
products.
gasket. Replace the gasket, if necessary.
Dispose of all fluids according to local regulations and
mandates.
|
|
Privacy Statement - Press Release - Copyright Information. - Contact Us |
