 |
|||
|
|
|||
|
|
|||
| ||||||||||
|
|
 TM 5-2410-237-23
INSTALLATION OF ARMOR PACKAGE
THIS WORK PACKAGE COVERS
General Information, Installation
INITIAL SETUP
Tools and Special Tools
Personnel Required
Three
Tool kit, general mechanic's (Item 122, WP 0250
Equipment Condition
Shop equipment, common no. 1 (Item 103, WP
Radiator guard removed (WP 0158 00)
Backup alarm removed (WP 0098 00)
Tool, lifting (Item 123, WP 0250 00)
Rear floodlamp removed (WP 0093 00)
Materials/Parts
Transmission guard removed (WP 0157 00)
Compound, sealing (Item 9, WP 0249 00)
Hood grabhandles removed (WP 0159 00)
1991, 1996, or 2004 MCAP Armor Kit
Protective screen removed (WP 0167 00)
References
Left and right lift cylinder travel lock bracket
TM 5-2410-237-10
removed (WP 0220 00)
Winterized cab removed, if equipped (WP 0168 00)
TM 5-2410-237-23P
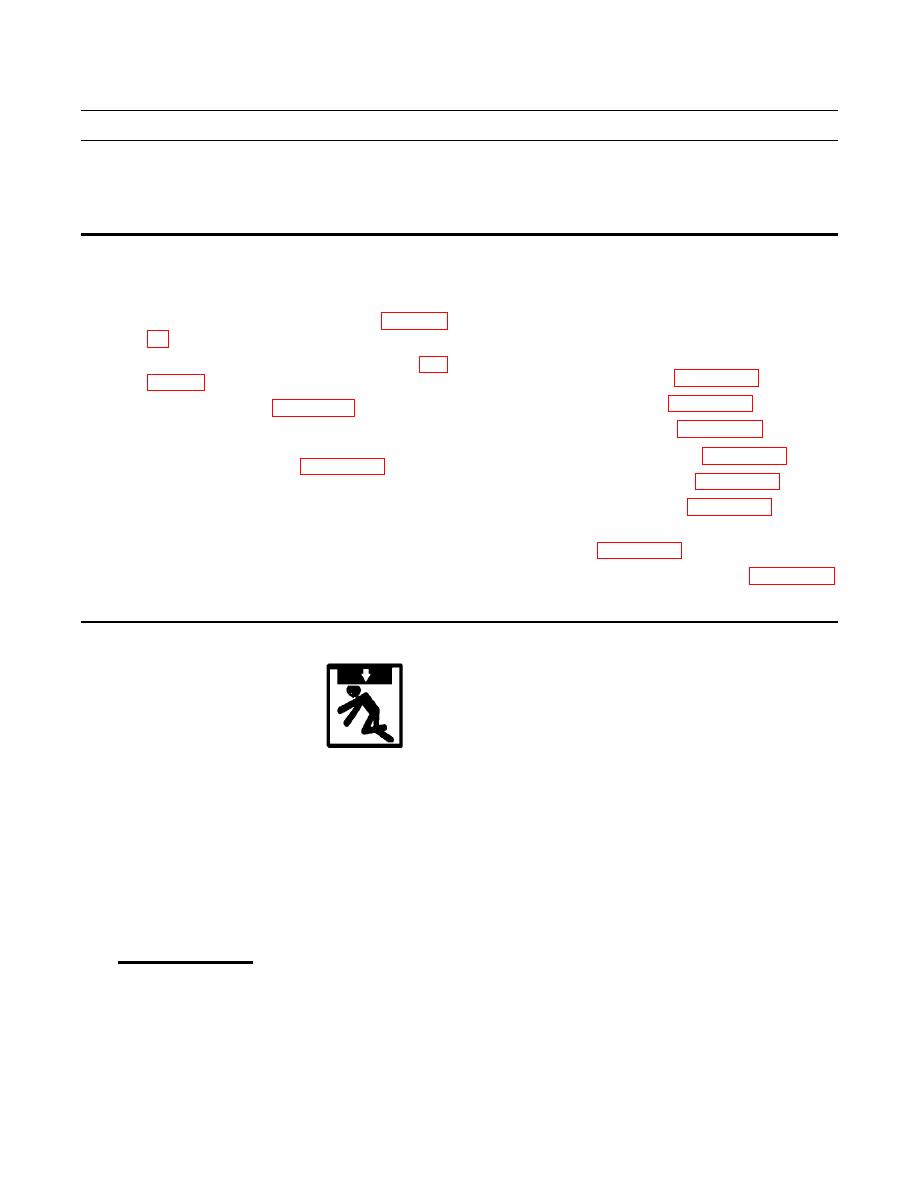
WARNING
Use extreme caution when handling heavy parts. Provide adequate support and use assistance during pro-
cedure. Ensure that any lifting device used is in good condition and of suitable load capacity. Keep clear of
heavy parts supported only by lifting device. Failure to follow this warning may result in death or injury to
personnel.
GENERAL INFORMATION
NOTE
This work package contains installation instructions for 1991, 1996 and 2004 MCAP Armor Kits.
Differences between kits are noted in the procedure.
1.
General Information.
a.
While installing cab armor, due to tolerance stackup and/or prior rework or repair to tractor, armor kit may inter-
fere with tractor parts. If this occurs, rework tractor parts rather than armor kit, if possible.
b.
DO NOT weld, burn, grind or drill on ROPS structure or support members.
c.
Loosely install armor kit components. To ensure all components fit correctly, do NOT tighten mounting bolts until
all adjacent and connecting armor parts have been installed.
|
|
Privacy Statement - Press Release - Copyright Information. - Contact Us |