 |
|||
|
|
|||
|
|
|||
| ||||||||||
|
|
 (5) Install each set of coned disc seal washers
with one outside diameter facing the counterbore in
link (4) and one outside diameter facing spacer (1),
with inside diameters against each other. Install
spacer (1) with beveled edge toward the centerline
of the track.
NOTE
Coned disc seal washers (2 and 3) and spacers (1) can
be held in place in the counterbores of master links (4)
with the use of two holding tools. Fabricate the tools to
the dimension given in figure 7-7.
(6) Assemble the tools on master links and
tighten the bolt on each tool to compress seal
washers. Spacers will be flush with inner face of
links when seal washers are properly compressed.
(7) Force the track together until the spacers
and seal washers are held in place by the track
links.
NOTE
If master pin is to be driven in with a sledge hammer,
move the machine forward and drive the track together
until the spacers and seal washers are held in place by
the track links.
(8) Remove the holding tools. Align the holes
and install the master pin.
(9) Install the bolts in the track shoes. Refer to
b. Disassembly.
(1) Remove the cover (6, fig. 7-9) lockring (5)
and nut (4) from the roller (3).
NOTE
Install the track shoe bolt nut with end having the
(2) Loosen the clamping bolts (2) and drive a
0.156 inch corner radii against the track link.
suitable metal wedge into the slot of bracket (1) to
free the carrier roller shaft and remove the bracket.
(10) Adjust the track (para 7-7).
(3) Remove the lockring (4, fig. 7-10) end
7-2. Track Carrier Rollers
collar (3) and metal floating ring seals (2).
CAUTION
a. Removal.
Tape the seals (2) together so they will
(1) Loosen the track as outlined in paragraph
be kept in matched sets. The floating
7-1.
ring seals (2) should always be installed
(2) Lift the track to provide clearance for
in pairs, that is, two new seals together
removal.
or two seals that have previously run
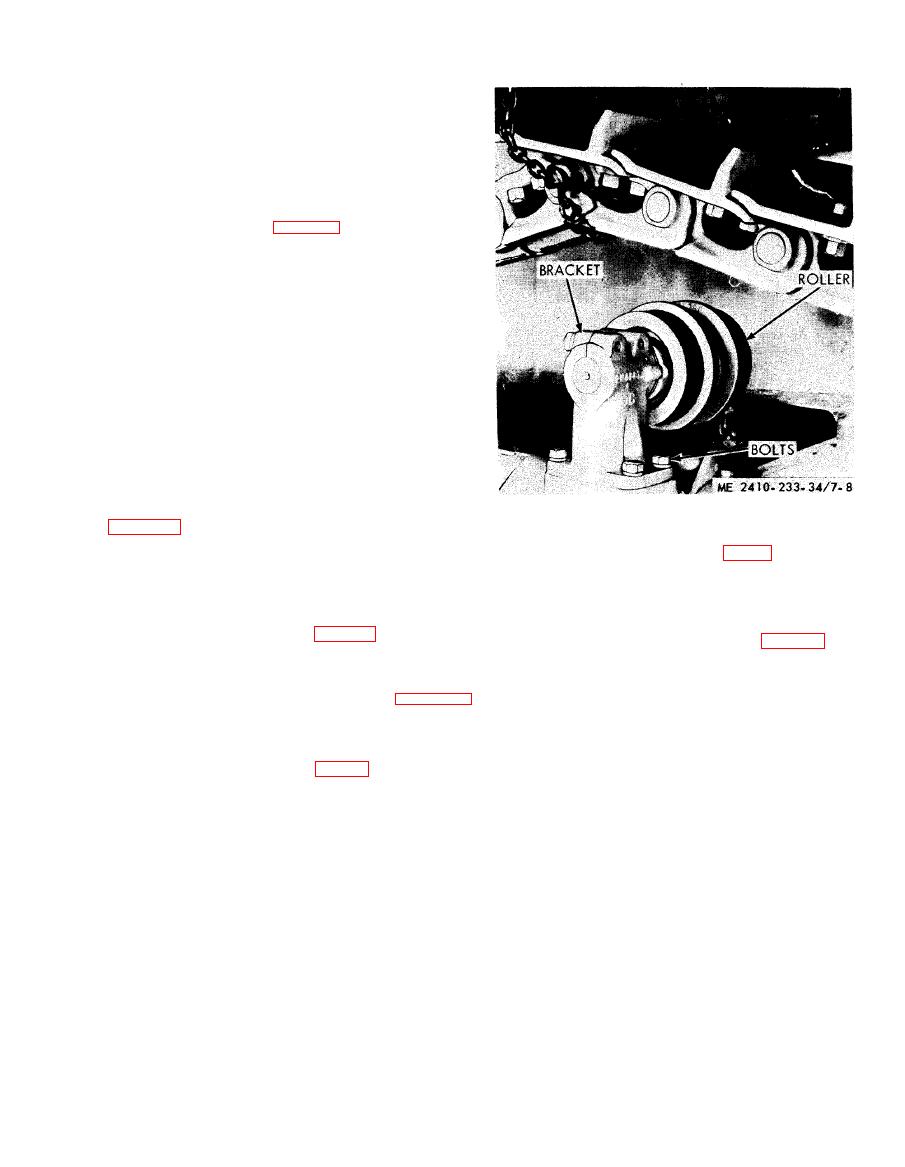
(3) Remove the bracket (fig. 7-8) and roller as
together. Never assemble one new seal
an assembly by removing the (4) bracket to frame
and one used seal together or two seals
mounting bolts.
that have not previously run together.
|
|
Privacy Statement - Press Release - Copyright Information. - Contact Us |
