 |
|||
|
|
|||
|
Page Title:
Test Step 2. Check the Installation of the Sensors and the Bracket |
|
||
| ||||||||||
|
|
 256
TM 9-2320-312-24-2
Troubleshooting Section
Note: The bracket cannot be replaced separately.
Note: If the diagnostic code is logged but not
active, run the engine until the engine is at normal
C. Ensure that one O-ring has been installed on
operating temperature. The problem may only
the sensor, and ensure that the O-ring is free of
occur when the engine is at the normal operating
damage.
temperature. If the engine will not start, monitor the
engine rpm from the electronic service tool while
Note: If the flange of the sensor is bent or if an
the engine is being cranked. The electronic service
obstruction is preventing the sensor from reading a
tool may need to be powered from another battery
good pattern, the engine will not start.
while the engine is being cranked. This is done in
order to ensure that the electronic service tool does
not reset.
Results:
OK The sensors and the bracket are properly
Expected Result:
installed. Proceed to Test Step 3.
One or more of the diagnostic codes that are listed
Not OK
above are logged or active.
Note: If you have been referred here from
Repair: Perform the following procedure in order
Troubleshooting, "Troubleshooting without a
to properly install the sensors and the bracket:
Diagnostic Code" for the following reason, select
"No Engine rpm":
1. Loosen the bolt that holds the sensor mounting
bracket to the engine.
The engine rpm was not indicated on the
2. Seat the sensor and tighten the bolt.
electronic service tool.
If the sensor will not seat, repair the sensor or
Results:
replace the sensor, as required.
OK There is an active diagnostic code or a
Note: The sensor must not be removed from the
logged diagnostic code. Proceed to Test Step 3.
bracket.
Not OK If none of the codes that are listed are
3. Ensure that the sensor is properly oriented
active diagnostic codes or logged diagnostic
and that the harness is secured in the proper
codes and the engine is not running properly,
location.
refer to the appropriate symptoms in the service
manual. STOP.
4. Verify that the repair eliminates the problem.
No Engine rpm Engine rpm is not indicated on
STOP.
the electronic service tool. Proceed to Test Step 2.
Test Step 2. Check the Installation of the
Sensors and the Bracket
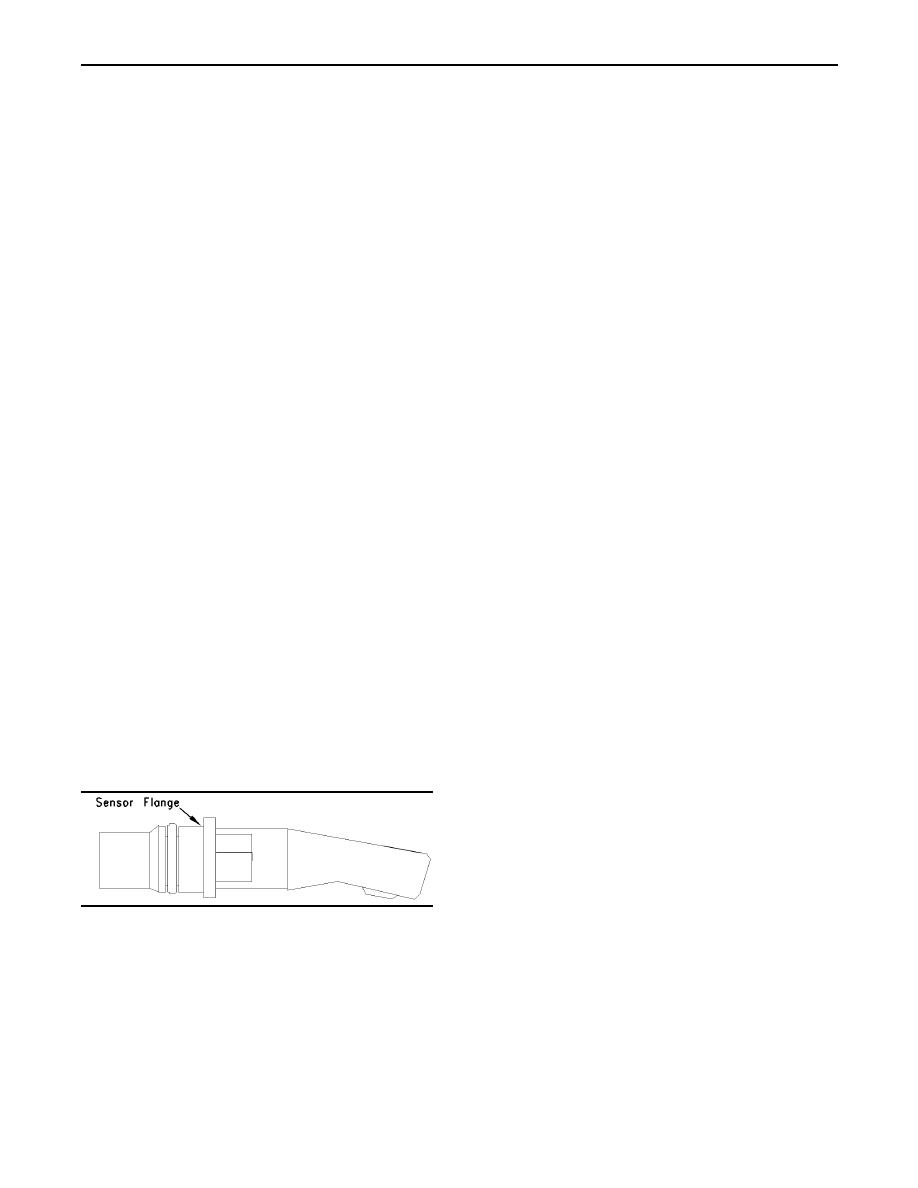
g00767308
Illustration 92
Flange of the sensor and mounting bracket
A. The flange of the sensor should be flush against
the engine in order to ensure proper operation.
B. Inspect the bracket in order to ensure that the
installation allows the flange of the sensor to be
flush against the engine.
Verify that the bracket is not bent.
|
|
Privacy Statement - Press Release - Copyright Information. - Contact Us |
