 |
|||
|
|
|||
|
|
|||
| ||||||||||
|
|
 TM 9-2320-312-24-2
Testing and Adjusting Section
Bore Runout (radial eccentricity) of
i01284996
the Flywheel
Flywheel - Inspect
SMCS Code: 1156-040
Table 25
Tools Needed
Part
Part Name
Quantity
Number
8T-5096
1
Dial Indicator
Face Runout (axial eccentricity) of
the Flywheel
g00286054
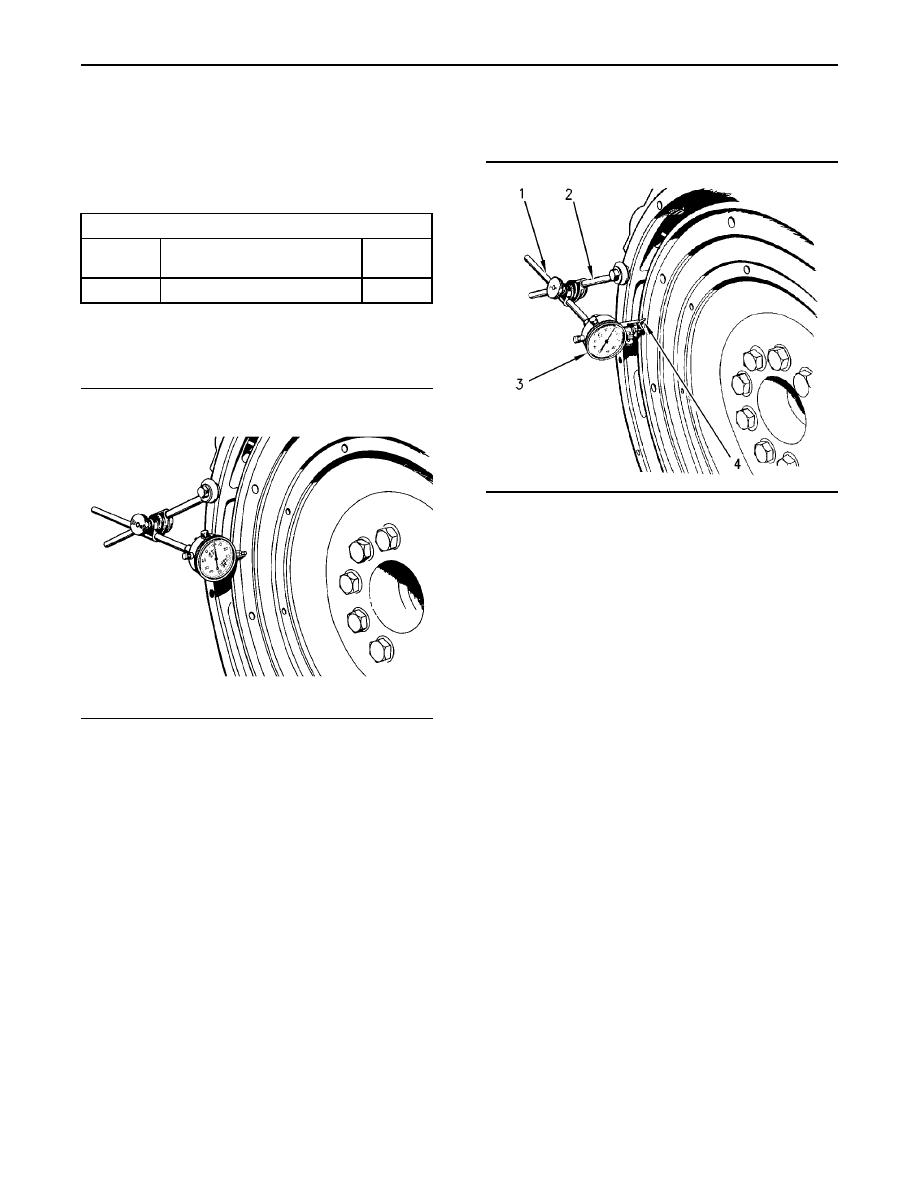
Illustration 80
Checking bore runout of the flywheel
(1)
Holding Rod
7H-1945
(2)
Holding Rod
7H-1645
(3)
Dial Indicator
7H-1942
(4)
Universal Attachment
7H-1940
1. Install 7H-1942 Dial Indicator (3). Make an
adjustment of 7H-1940 Universal Attachment
(4) so the dial indicator makes contact on the
flywheel.
2. Set the dial indicator to read 0.0 mm (0.00 inch).
g00286049
3. Turn the flywheel at intervals of 90 degrees and
Illustration 79
read the dial indicator.
Checking face runout of the flywheel
4. Take the measurements at all four points. The
1. Refer to Illustration 79 and install the dial
difference between the lower measurements and
indicator. Always put a force on the crankshaft
the higher measurements that are performed at
in the same direction before the dial indicator
all four points must not be more than 0.15 mm
is read. This will remove any crankshaft end
(0.006 inch), which is the maximum permissible
clearance.
face runout (radial eccentricity) of the flywheel.
2. Set the dial indicator to read 0.0 mm (0.00 inch).
3. Turn the flywheel at intervals of 90 degrees and
read the dial indicator.
4. Take the measurements at all four points. The
difference between the lower measurements and
the higher measurements that are performed at
all four points must not be more than 0.15 mm
(0.006 inch), which is the maximum permissible
face runout (axial eccentricity) of the flywheel.
|
|
Privacy Statement - Press Release - Copyright Information. - Contact Us |