 |
|||
|
|
|||
|
|
|||
| ||||||||||
|
|
 TM 9-2320-312-24-1
DIAGNOSTIC CONNECTOR REPLACEMENT- CONTINUED
0112 00
REMOVAL - CONTINUED
NOTE
Refer to vehicle wiring schematics at back of manual for assistance in identifying wires.
Remove tiedown straps as required and discard. Use new tiedown straps on installation.
4.
Tag and disconnect wires from diagnostic connector (2), in accordance with WP 0120 00, and remove connector.
5.
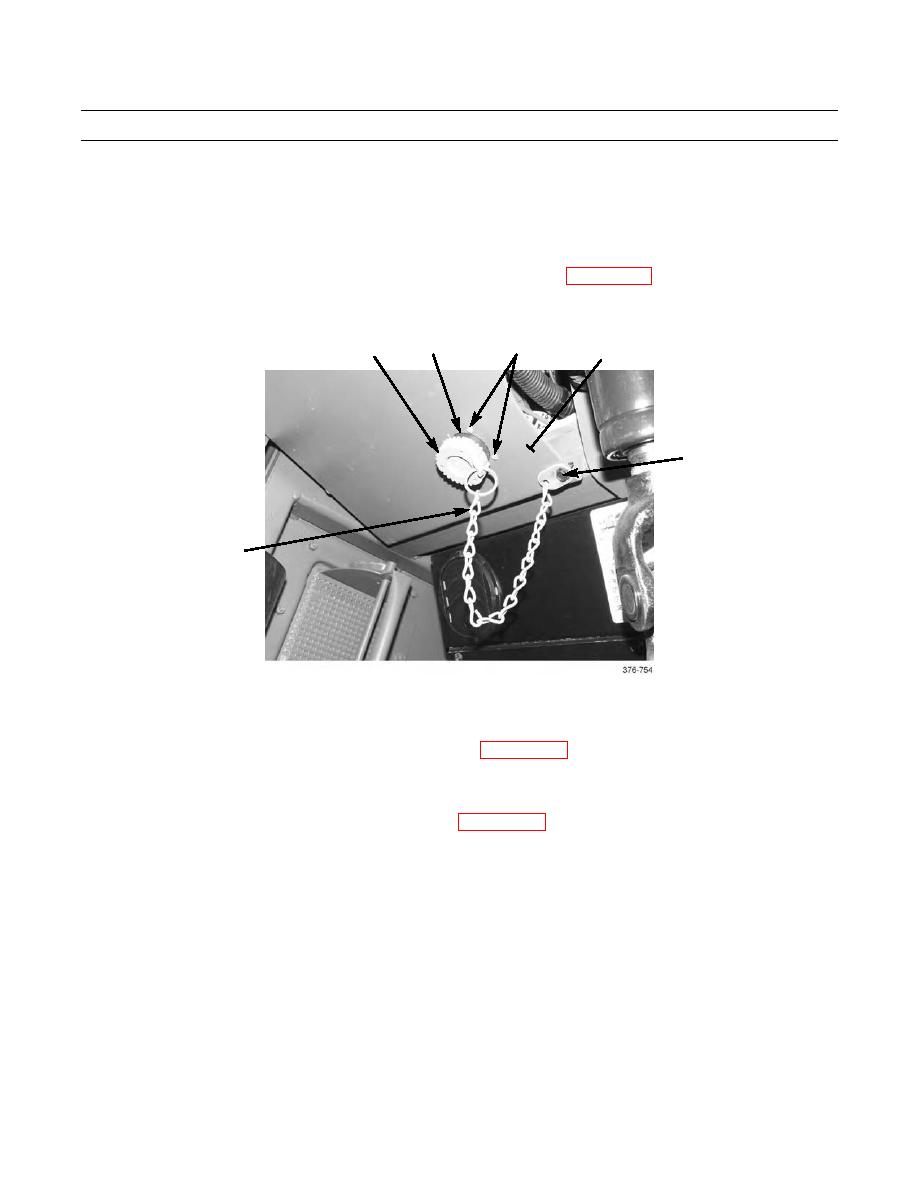
As required, remove cap (1) from retaining chain (8). Remove screw (7) and retaining chain from panel (6).
3,4,5
2
1
6
7
8
INSTALLATION
1.
If removed, install retaining chain (8) to panel (6) with screw (7). Install cap (1) to retaining chain.
2.
Connect wires to diagnostic connector (2), in accordance with WP 0120 00, and remove tags.
3.
Install diagnostic connector (2) to panel (6) with four screws (5), new lockwashers (4), and nuts (3).
4.
Install cap (1) on diagnostic connector (2).
5.
Install upper-front and lower-left instrument panel plates (WP 0100 00).
6.
Place battery disconnect switch in ON position.
END OF WORK PACKAGE
0112 00-2
|
|
Privacy Statement - Press Release - Copyright Information. - Contact Us |