 |
|||
|
|
|||
|
|
|||
| ||||||||||
|
|
 TM 5-2410-233-23
BLADE TILT CYLINDER REPLACEMENT - CONTINUED
0154 00
INSTALLATION - CONTINUED
5.
Perform Adjustment steps 1-3, to install shims (13)
1,2
4
5
3
and adjust as required. After performing Adjustment
steps 1-3, return to Installation step 6.
CAUTION
Wipe all sealing surfaces and hose connec-
tions clean and dry before installation.
Contamination of hydraulic system could
result in premature failure.
NOTE
Lightly coat new O-rings with clean oil
before installation.
6.
Install hydraulic hose (5) with new O-ring (9), two
flanges (8), four flatwashers (7) and capscrews (6).
7.
Repeat step 6 for other hydraulic hose (5).
386-802
8
5
6,7
9 (HIDDEN)
8.
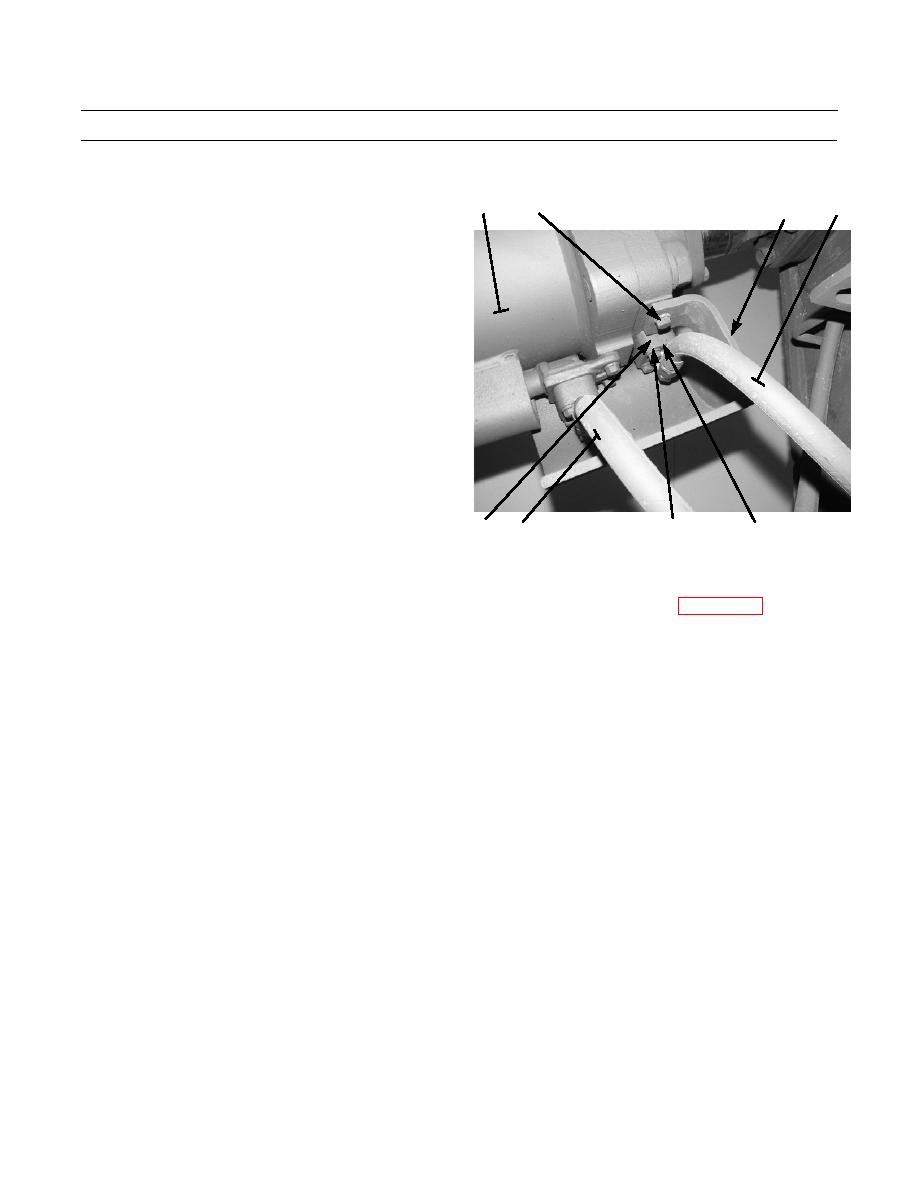
Install hose guard (3) on tilt cylinder (4) with four new
lockwashers (2) and capscrews (1).
9.
Ensure there is enough slack in hoses to permit rod extension.
10.
Check oil level in hydraulic tank. Refill hydraulic tank and bleed air from system as required (WP 0165 00).
11.
Apply GAA grease to two ball joint grease fittings.
12.
Start engine and check blade tilt cylinder for correct operation and leaks (TM 5-2410-233-10).
0154 00-5
|
|
Privacy Statement - Press Release - Copyright Information. - Contact Us |