 |
|||
|
|
|||
|
|
|||
| ||||||||||
|
|
 TM 5-2410-233-23
WINCH ASSEMBLY REPLACEMENT- CONTINUED
0139 00
REMOVAL - CONTINUED
NOTE
When removing transmission cover, be careful not to lose detent ball and spring.
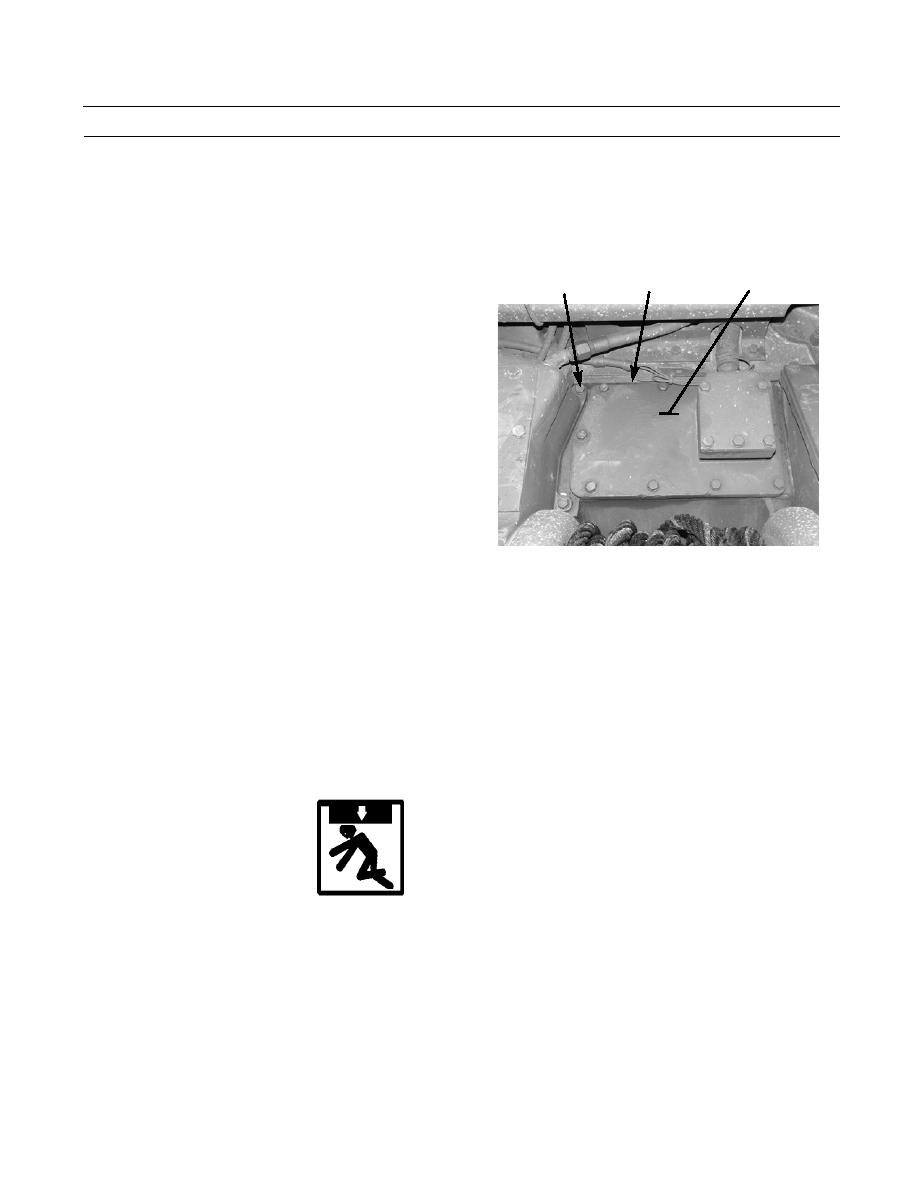
5.
Remove seven capscrews (1), lockwashers (2) and
4
3 (HIDDEN)
1, 2
gasket (3) from transmission cover (4). Discard lock-
washers and gasket.
386-045
CAUTION
Keep work area clean. Wipe area clean around all hose fittings and couplings. Cap openings to prevent con-
tamination of winch, which could result in premature failure.
NOTE
Use a suitable container to catch any oil that may drain from system. Dispose of oil IAW local policy and
ordinances. Ensure all spills are cleaned up.
6.
Disconnect coupling (5) and remove winch pump pressure line (6) from valve housing (7).
WARNING
Use extreme caution when handling heavy parts. Provide adequate support and use assistance during pro-
cedure. Ensure that any lifting device used is in good condition and of suitable load capacity. Keep clear of
heavy parts supported only by lifting device. Failure to follow this warning may cause injury or death.
NOTE
Winch assembly weighs approximately 3,600 lb (1,634 kg).
Use a tap to chase and clean threaded holes in bosses to which chain end links are attached.
7.
Attach two lifting links with 3/4 -10 x 1-1/2 in. bolts in threaded boss (8) on each side of winch (9).
0139 00-2
|
|
Privacy Statement - Press Release - Copyright Information. - Contact Us |
