 |
|||
|
|
|||
|
Page Title:
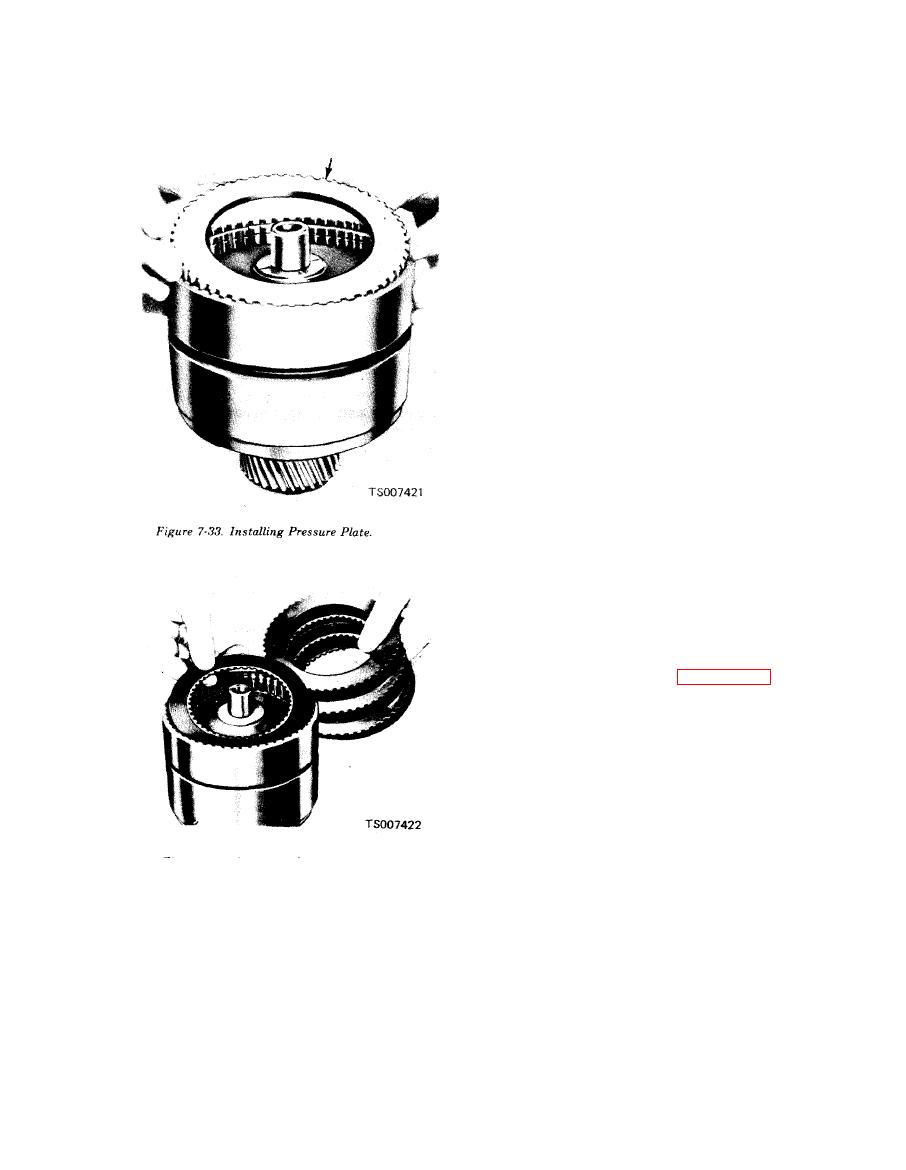
Figure 7-34. Installing Clutch Plates. |
|
||
| ||||||||||
|
|
 TM 10-3930-633-34
(7) The final friction plate to be installed is
selective. Install the thickest plate that will be a
minimum of 0.010 inch below input shaft shoulder
in cylinder. For all other plates, use the thinnest
available. Refer to TM 10-3930-633-34P for
available plate thicknesses.
(8) Install the turbine shaft in the clutch
cylinder, and then install the snap ring. Make
sure the snap ring is fully seated in the groove.
(9) Install the thrust washer on the turbine
shaft.
Prior to reassembly of the transmission, check
for damage to the case and other parts as outlined
below:
a. Case.
(1) Inspect the case for cracks and stripped
threads. Inspect the gasket surfaces and mating
s u r f a c e s for burrs. Check the vent for ob-
structions, and check all fluid passages for ob-
structions and leakage.
(2) Inspect the case bushing for scores.
Check all parking linkage parts for wear or
damage.
(3) Use helicoil inserts to repair damaged
threads.
b. Primary Sun Gear Shaft.
(1) Inspect the primary sun gear for broken
or worn teeth. Inspect all thrust surfaces and
journals for scores. Check all fluid passages for
obstructions and leakage. Inspect the seal ring
grooves for burrs. Refer to figure 7-35.
|
|
Privacy Statement - Press Release - Copyright Information. - Contact Us |
