 |
|||
|
|
|||
|
Page Title:
FAN CLUTCH LINING REMOVAL - CONTINUED |
|
||
| ||||||||||
|
|
 TM 9-2320-312-24-1
COOLING FAN AND FAN CLUTCH MAINTENANCE - CONTINUED
0141 00
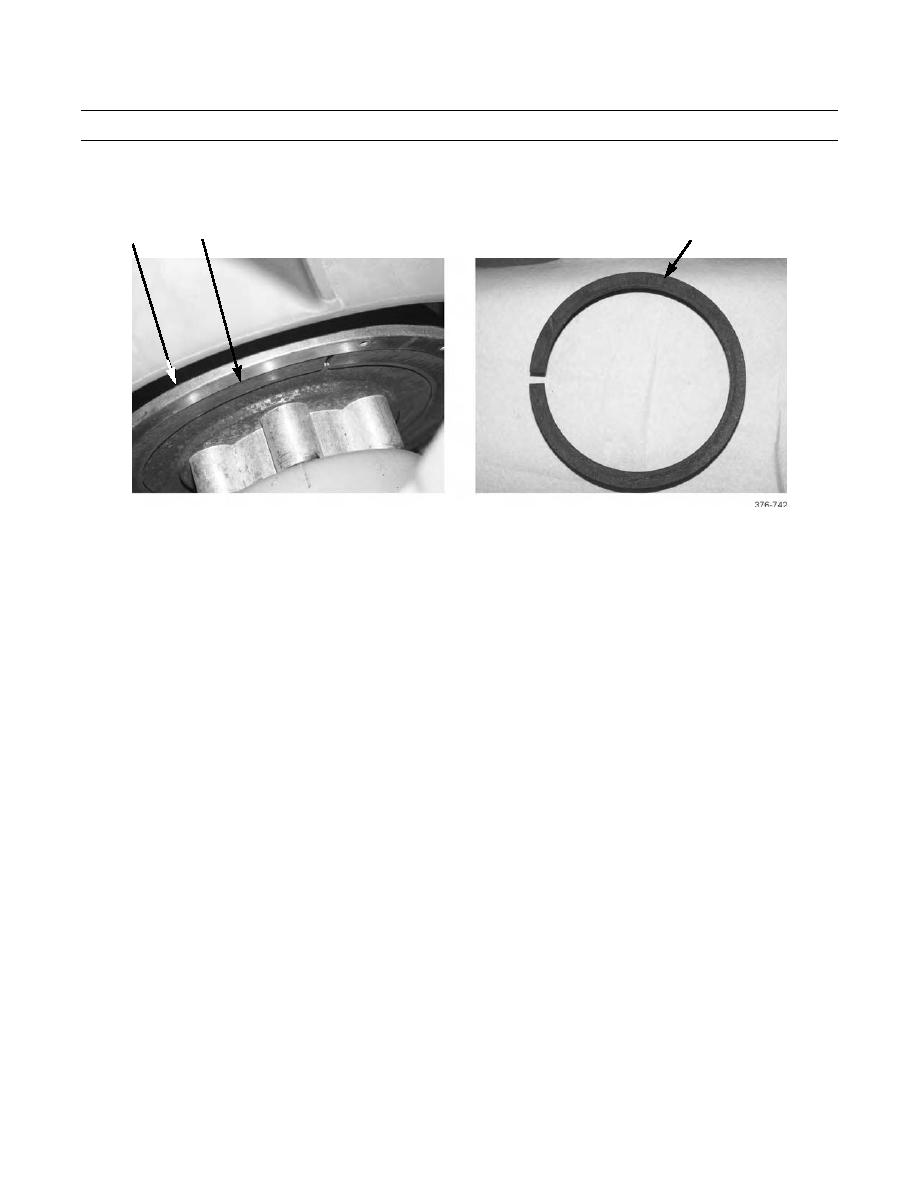
FAN CLUTCH LINING REMOVAL - CONTINUED
6.
Remove friction lining (7) from fan clutch (6). Discard friction lining.
7
6
7
FAN CLUTCH LINING INSTALLATION
1.
Install new friction lining (7) into fan clutch (6), with angled surface of lining facing forward.
2.
Install three mounting plates (5) with six new screws (4). Tighten screws to 30 lb-in (3 Nm).
3.
Remove jumper wire (2).
4.
Lower cab (TM 9-2320-312-10).
5.
Start engine (TM 9-2320-312-10) and bring up to operating temperature. Check for proper operation of fan clutch.
|
|
Privacy Statement - Press Release - Copyright Information. - Contact Us |
