 |
|||
|
|
|||
|
Page Title:
FAN CLUTCH SOLENOID REMOVAL |
|
||
| ||||||||||
|
|
 TM 9-2320-312-24-1
REMOTE START AND FAN CLUTCH SOLENOIDS REPLACEMENT - CONTINUED
0098 00
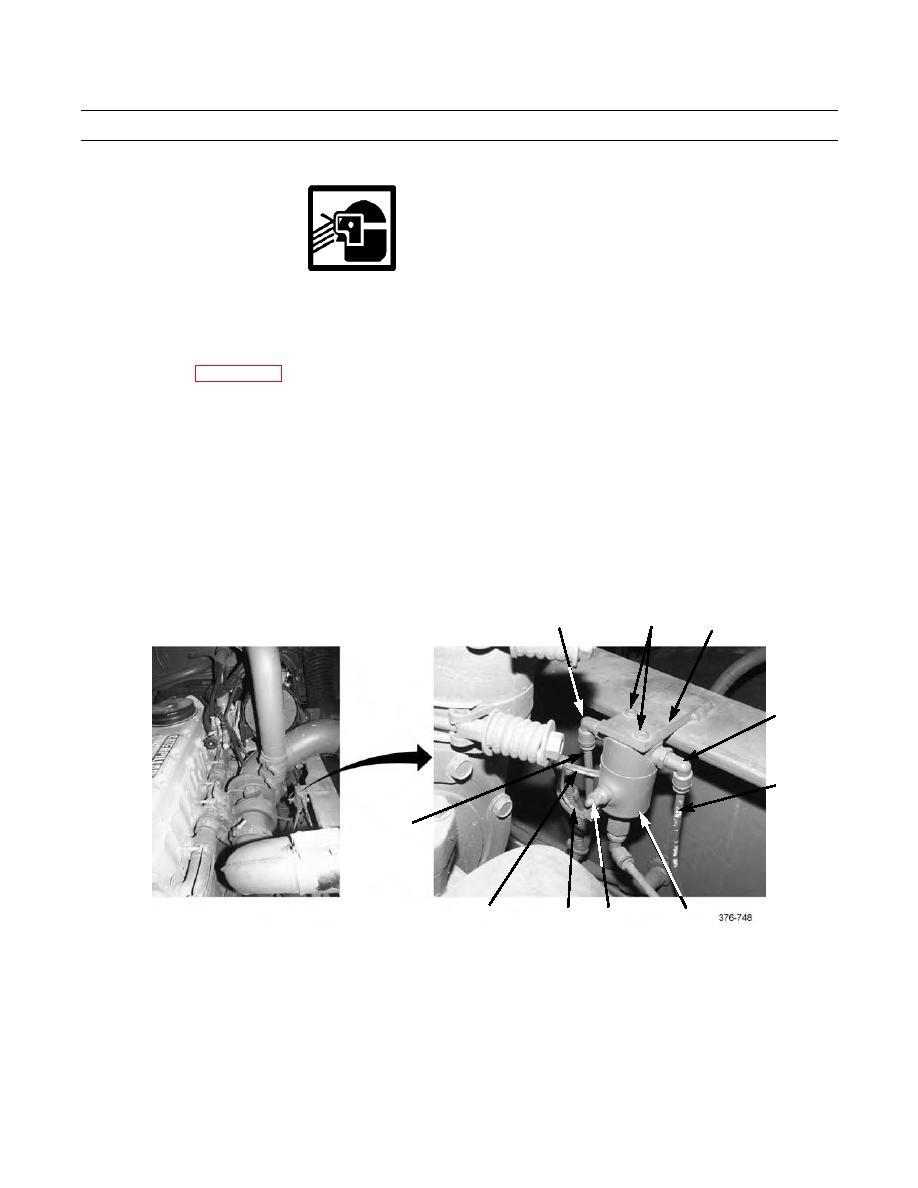
FAN CLUTCH SOLENOID REMOVAL
WARNING
DO NOT disconnect any air lines or fittings unless engine is shut down and air system pressure is relieved.
Failure to follow this warning could result in serious injury to personnel.
NOTE
Refer to WP 0066 00 for information on removing and installing air lines to push-in fittings.
Note position of fan clutch solenoid and connection points of wires and air lines, to ensure correct
installation.
1.
Disconnect two air lines (12) from elbows (8).
2.
Remove nut (14), lockwasher (15), and disconnect two wires (16) from solenoid (13) terminal closest to engine. Discard
lockwasher.
3.
Remove two screws (9), lockwashers (10), and remove solenoid (13) from frame bracket (11). Discard lockwashers.
4.
Remove nut (14), lockwasher (15), and disconnect two wires (17) from other terminal of solenoid (13). Discard lock-
washer.
5.
Remove two elbows (8) from solenoid (13).
8
9,10
11
8
12
12
17
16
13
14,15
FAN CLUTCH SOLENOID INSTALLATION
1.
Apply a thin coat of pipe sealing compound to male threads and install two elbows (8) to solenoid 913).
2.
Position solenoid (13) and connect two wires (17) with new lockwasher (15) and nut (14).
3.
Install solenoid (13) to frame bracket (11) with two new lockwashers (10) and screws (9).
4.
Connect two wires (16) to solenoid (13) terminal closest to engine with new lockwasher (15) and nut (14).
5.
Connect two air lines (12) to two elbows (8).
0098 00-3
|
|
Privacy Statement - Press Release - Copyright Information. - Contact Us |