 |
|||
|
|
|||
|
Page Title:
TROUBLESHOOTING USING PRO-LINK - CONTINUED |
|
||
| ||||||||||
|
|
 TM 9-2320-312-24-1
TROUBLESHOOTING INTRODUCTION - CONTINUED
0004 00
TROUBLESHOOTING USING PRO-LINK - CONTINUED
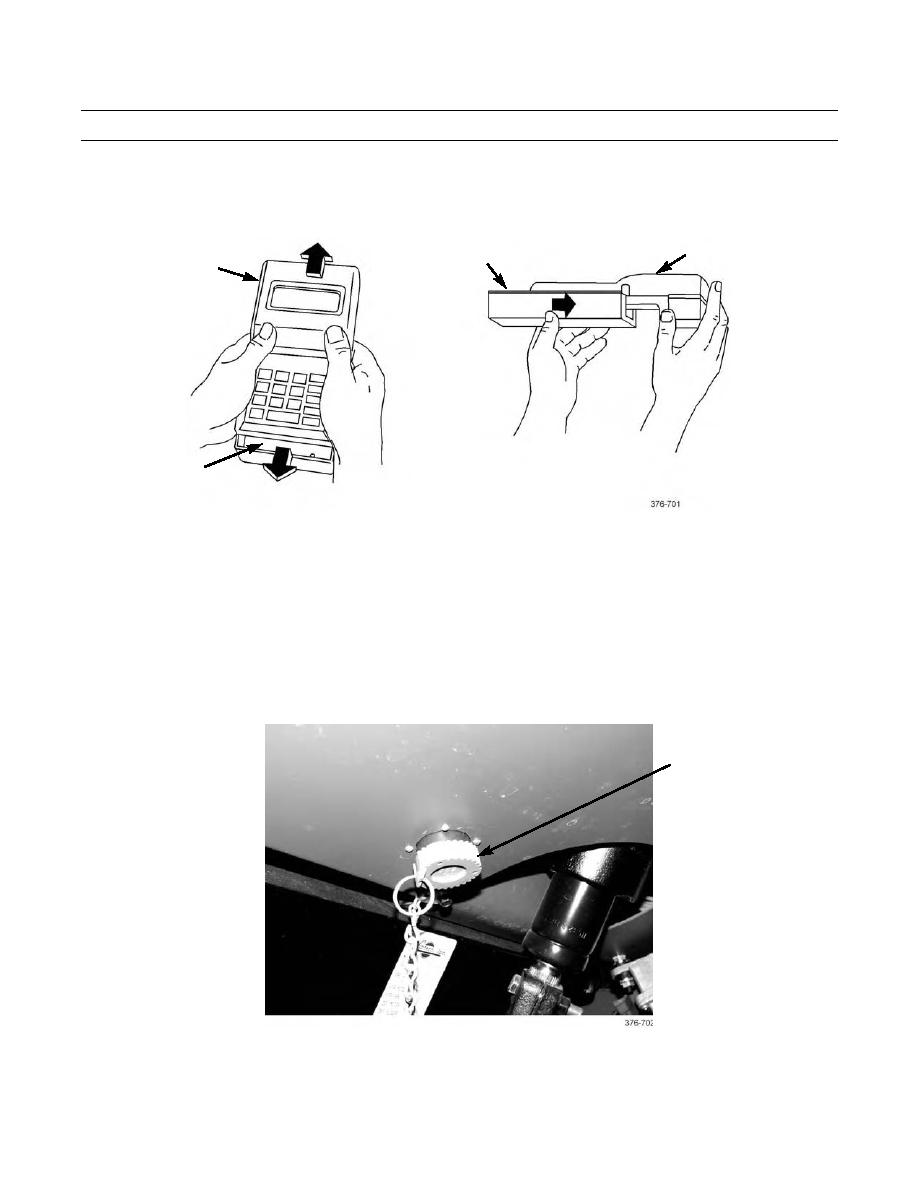
3.
Install appropriate cartridge by pushing in until cartridge clicks into place.
PRO-LINK
DATA CARTRIDGE
PRO-LINK
DATA
CARTRIDGE
REMOVAL
INSTALLATION
4.
Connect the appropriate power/data cable to Pro-Link tester. Connect appropriate adapter to other end of cable.
CAUTION
Vehicle ignition switch must be in OFF position prior to connecting Pro-Link tester to yard tractor's diag-
nostic connector, to prevent possible damage to Pro-Link.
5.
Turn vehicle ignition switch to OFF position.
6.
Connect Pro-Link tester cable adapter to diagnostic connector on left side of instrument panel.
DIAGNOSTIC
CONNECTOR
7.
Turn ignition switch to ON position to power up Pro-Link. Pro-Link will display copyright screen for several seconds.
8.
Proceed with troubleshooting.
0004 00-3
|
|
Privacy Statement - Press Release - Copyright Information. - Contact Us |
