 |
|||
|
|
|||
|
|
|||
| ||||||||||
|
|
 TM 9-2320-312-10
WHEEL AND TIRE ASSEMBLY REPLACEMENT - CONTINUED
0014 00
INSTALLATION
NOTE
Due to speed limitation of vehicle and its load capability, tire manufacturer has authorized a tire infla-
tion of 120 psi (827 kPa).
1.
Check tire pressure before installing wheel and tire assembly. Inflate tire to 120 psi (827 kPa) if necessary (WP 0005
2.
Clean hub and wheel mounting surfaces on all disc faces of dual wheels of rear axle.
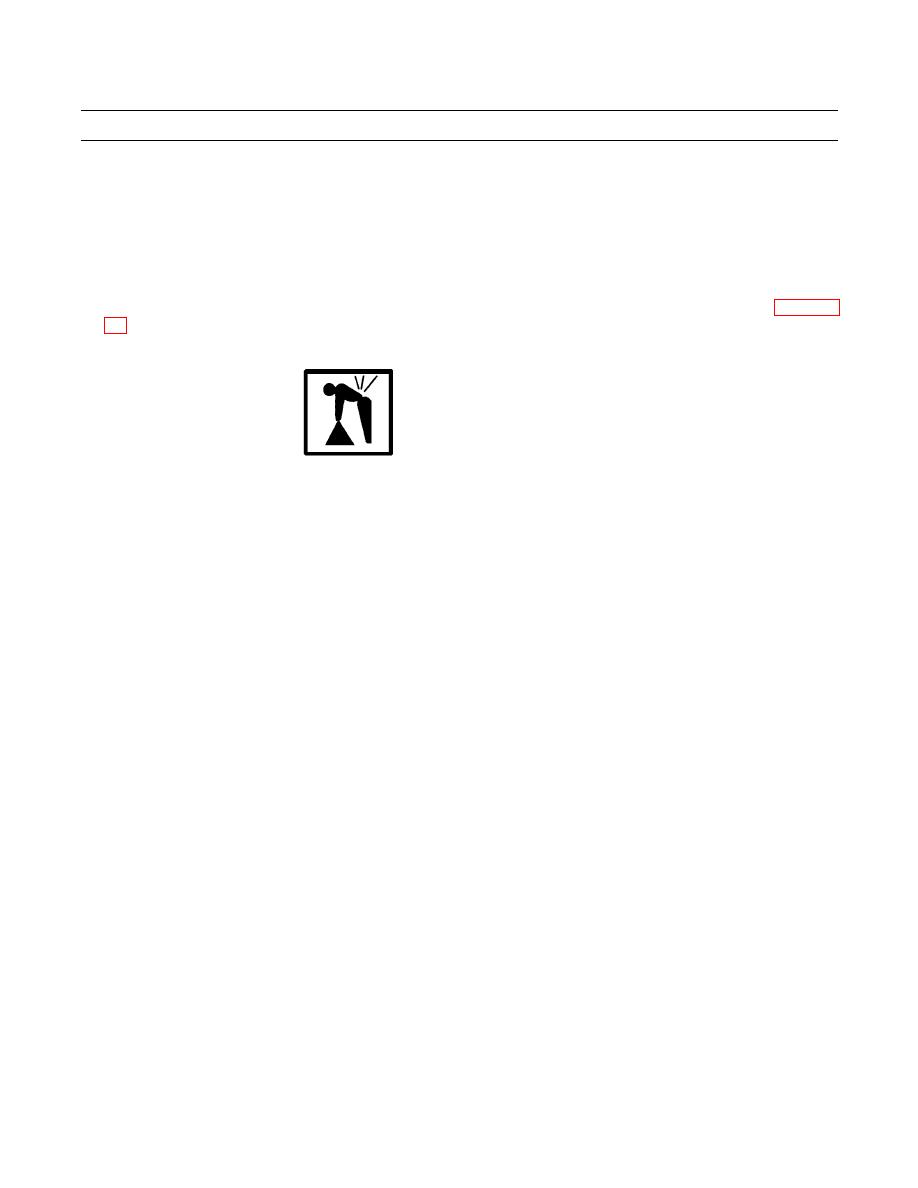
WARNING
Use caution when lifting or handling wheel and tire assembly. It is heavy and could cause injury if
improperly lifted or if it falls on you.
CAUTION
Wheel center hole and hub pilot have close tolerances. If wheel is not kept square to hub, it could bind
during installation and damage stud threads or pilot pads. Keep wheel square to hub during installation.
NOTE
Before installing wheels, ensure that rim is positioned on raised step of pilot pad. One of the hub pilot
pads must be at top location.
3.
On front axle, place one pilot pad in top-center position. Position front wheel and tire assembly or inner rear wheel
and tire assembly on hub using care not to allow assembly to drop on or drag across stud threads.
NOTE
Ensure that valve stems on rear duals are positioned 180o opposite each other.
4.
On rear axle, mount outer wheel and tire assembly against inner wheel and tire assembly, using care not to allow
assembly to drop on or drag across stud threads.
CAUTION
On both sides of vehicle, wheel nuts have right-hand threads. DO NOT attempt to install a similar size
SAE nut on a stud. Failure to follow this caution will result in damage to stud and nut.
5.
Install and handtighten two wheel nuts on top and bottom studs.
6.
Install and handtighten eight wheel nuts on remaining studs.
7.
Lower and remove jack.
0014 00-5
|
|
Privacy Statement - Press Release - Copyright Information. - Contact Us |