 |
|||
|
|
|||
|
|
|||
| ||||||||||
|
|
 TM 9-2320-303-24-2
REAR WINDOW REPLACEMENT - CONTINUED
0295 00
REMOVAL - CONTINUED
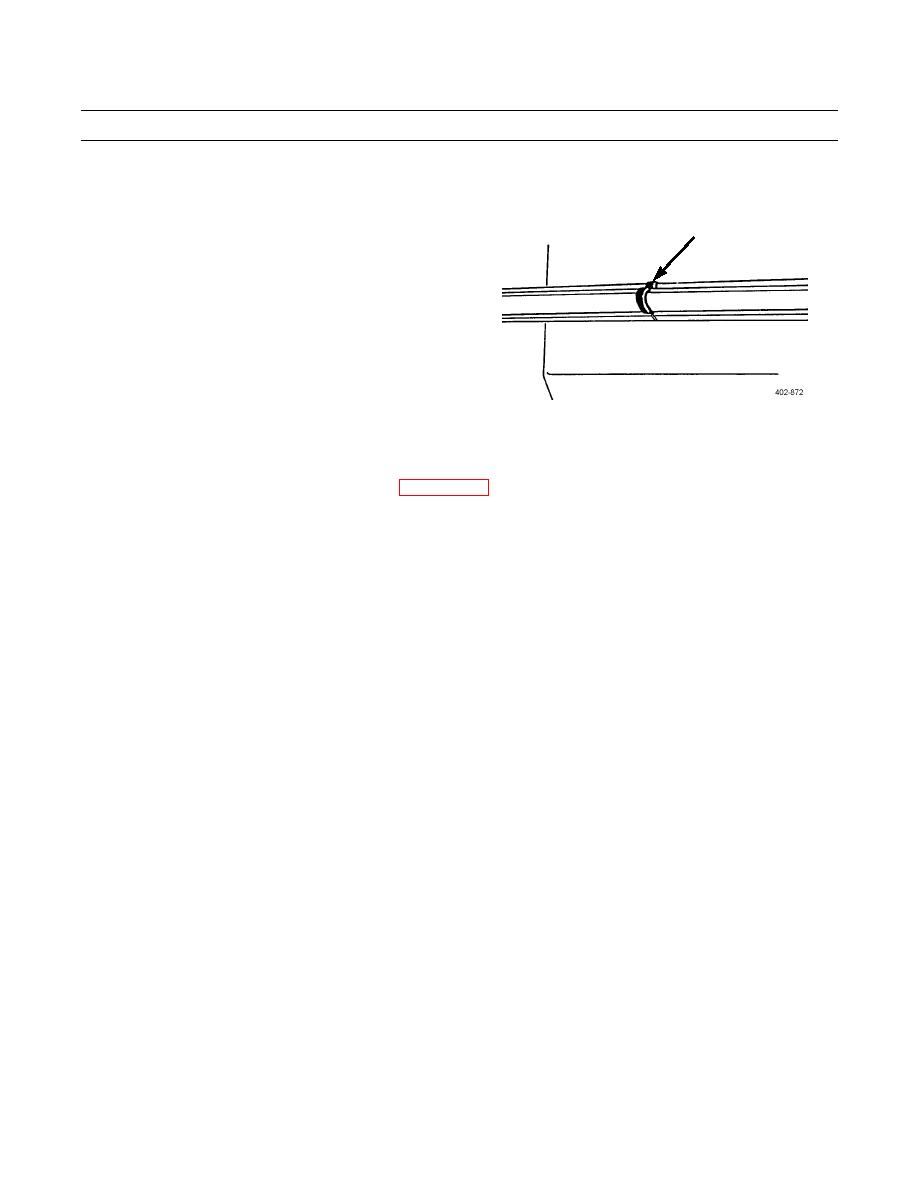
5.
Remove sealing compound from between ends of
rubber extrusion (2).
2
CLEANING AND INSPECTION
1.
Use general cleaning methods to clean all parts (WP 0306 00).
2.
If rear window glass has been removed under criteria outlined in Removal step 1, inspect channel of rubber extru-
sion where marked for foreign objects. Inspect mounting flange of cab for irregularities.
3.
Inspect all parts for wear or damage.
INSTALLATION
WARNING
Wear protective gloves when handling glass. Failure to do so could result in injury to personnel.
CAUTION
When handling glass, be careful not to nick or splinter edges. Chipped edges could cause cracking
later.
Do not use sealant around rear window glass. Sealing compounds are not needed and, if applied
unevenly, can cause leaks resulting in water damage.
NOTE
If installing rear window glass only, perform steps 1 through 4. If installing rear window glass and seal,
perform steps 1 through 6.
1.
Lubricate rear window channel of rubber extrusion (2) with detergent and water solution.
2.
Slide rear window glass (1) into window channel of rubber extrusion (2) as far as it will go without forcing.
3.
Using windshield pick, alternate between top and bottom or rear window glass (1) and work rubber extrusion (2)
over edge of rear window glass.
0295 00-2
|
|
Privacy Statement - Press Release - Copyright Information. - Contact Us |
