 |
|||
|
|
|||
|
|
|||
| ||||||||||
|
|
 TM 5-2410-237-23
TORQUE DIVIDER REPAIR - CONTINUED
0245 14
ASSEMBLY
NOTE
49
50
Oil all parts before installation and ensure
48
48
there is oil in the bevel gear sump during
assembly.
1.
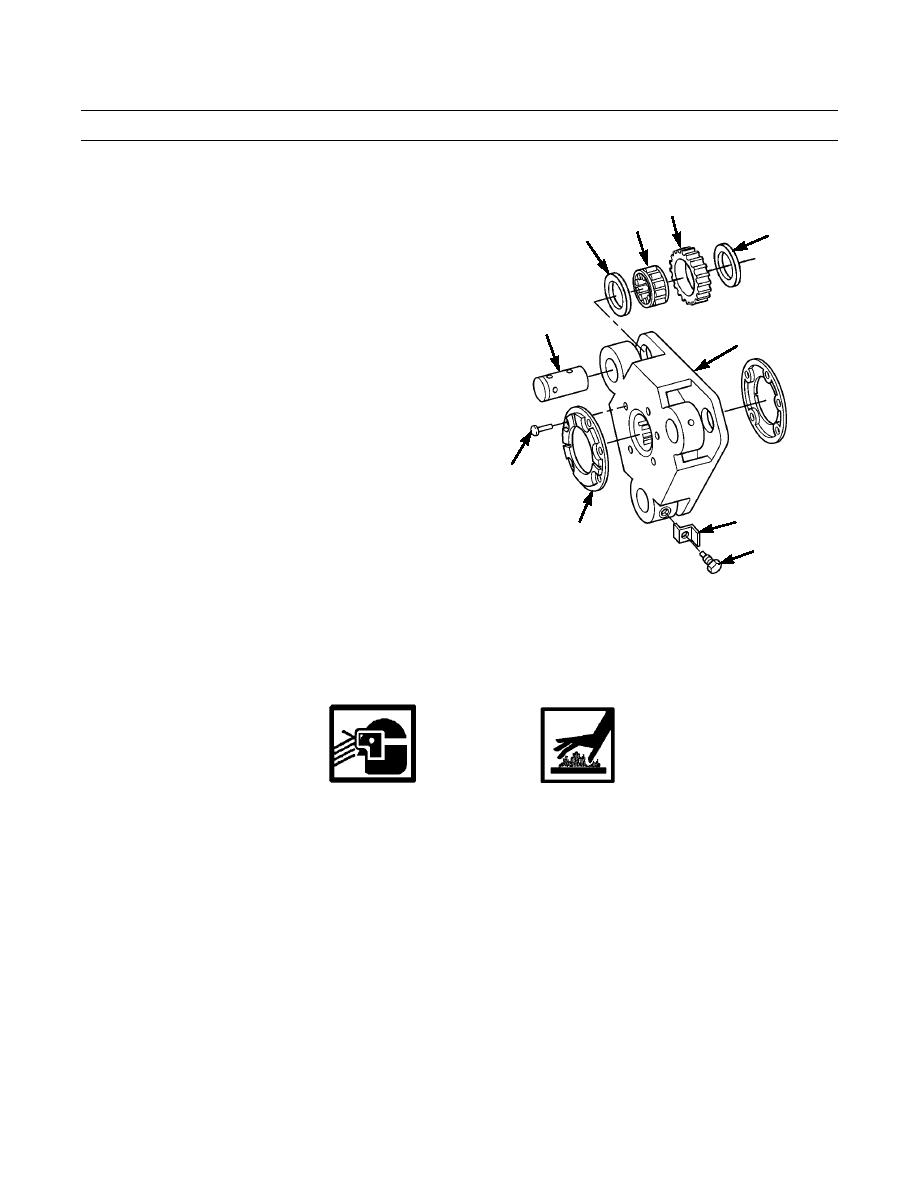
Place two thrust washers (51) into position and insert
16 rivets (52). Flare ends of rivets.
2.
Place three bearings (50) into gears (49).
46
3.
47
new washers (48) into carrier (47). Insert three shafts
(46).
4.
Insert new tabs (44) and three capscrews (45). Tighten
capscrews.
5.
Bend one end of three tabs (44) around capscrews (45)
and one end around carrier (47).
52
44
51
45
421-0168
6.
Install ring (42) onto bearing (43).
7.
Install bearing (43) in housing (17).
8.
Place retainer (41) on housing (17) and install capscrews (40). Torque capscrews to 36 2 lb-ft (49 2 Nm).
WARNING
Hot metal parts can cause severe burns. Wear insulated gloves, long sleeves and eye protection when work-
ing with heated parts.
NOTE
If packing retainer (39) was removed from flange (36), heat new carrier to a temperature of 280 to 330F
(138 to 166C) for a maximum of 10 minutes to aid in installation.
9.
Install packing retainer (39) on flange (36).
Install new seal (37) on packing retainer (39).
10.
NOTE
On narrow side of flange, install bearing even with outside edge of flange. On wide side of flange, install
bearing 1.00 in. inside edge of the flange.
11.
Install two bearings (38) in both ends of flange (36). Splined end side flush. Geared end side 1.00 in. (25.4 mm) inside
the edge of the flange.
0245 14-10
Change 1
|
|
Privacy Statement - Press Release - Copyright Information. - Contact Us |