 |
|||
|
|
|||
|
Page Title:
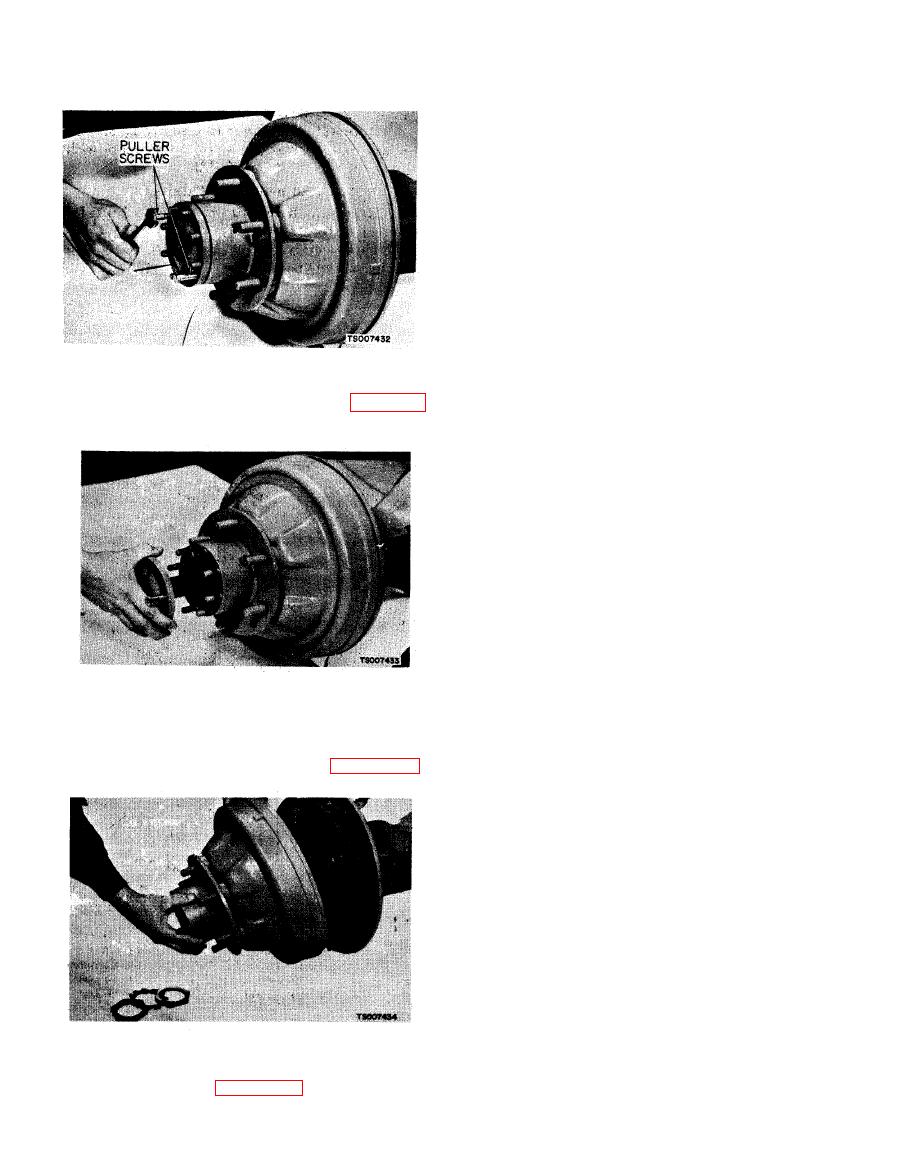
Figure 10-2. Loosening Axle Shaft Flange. |
|
||
| ||||||||||
|
|
 TM 10-3930-633-34
(5) Remove carrier nuts and screws, and lift
off the drop gearcase and differential as an
assembly.
c. Cleaning and Inspection.
(1) Clean the exterior and interior of the axle
housing with solvent, Federal Specification P-D-
680.
(2) Clean each bearing in a container filled
with (clean) solvent, Federal Specification P-D-
680. Wash bearings thoroughly. Remove bearings
from solvent and strike larger side of cone flat
against a block of wood to dislodge solidified
particles of lubricant. Repeat above operation
until bearings are thoroughly clean. Bearings
must be completely free from grease, oil and
solidified particles of lubricant.
Figure 10-2. Loosening Axle Shaft Flange.
(3) After washing bearings, blow them dry
(2) Remove axle shaft as shown in figure 10-
with compressed air. Be careful to direct air
3.
pressure across bearing to avoid spinning. DO
NOT SPIN BEARINGS. Bearings may be slowly
rotated by hand to facilitate drying procedure.
(4) Inspect bearings carefully to determine if
they are in good condition and suitable for further
service.
(5) When bearings a r e clean and dry,
lubricate them with new engine oil. Rotate the
bearing by hand, and check for wear or rough
spots.
(6) Carefully inspect rollers, cages and cups
for wear, chipping or nicks.
(7) If any defects are found, the bearings
should be scrapped, and replaced with new ones
at reassembly.
(8) All parts of the axle, including gears,
(3) Bend up tang on bearing lock exposed
axle shaft and hub should be washed thoroughly
after removal of axle shaft. Loosen and remove
in a Stoddard type cleaning solvent.
bearing nuts and nut lock. Remove bearing cone.
(9) Examine the gears for cracked, chipped
Pull off hub and drum assembly. See figure 10-4.
or scored teeth. If any of these conditions exist,
the faulty part should be replaced with a new
part.
(10) If magna-flux process is available, use
process to check parts. Examine teeth of all gears
carefully for wear, pitting, chipping, nicks or
scores. If gear teeth show spots where case
hardening is worn through, install new gear.
Small nicks may be carefully removed with a
suitable hone.
(11) Examine axle shafts to make certain
that they are not sprung, bent or splines twisted
and that shafts are true.
(12) Seals and gaskets should be replaced
with new ones at reassembly.
d. Reassembly.
(1) Using a new gasket, install drop gearcase
and carrier to axle housing. Tighten mounting
(4) Remove bearing cones, cups, seals and
screws to 52 - 57 ft/lbs.
slinger as shown in figure 10-1.
|
|
Privacy Statement - Press Release - Copyright Information. - Contact Us |