 |
|||
|
|
|||
|
|
|||
| ||||||||||
|
|
 TM 5-2410-237-23
RADIATOR MAINTENANCE - CONTINUED
0068 00
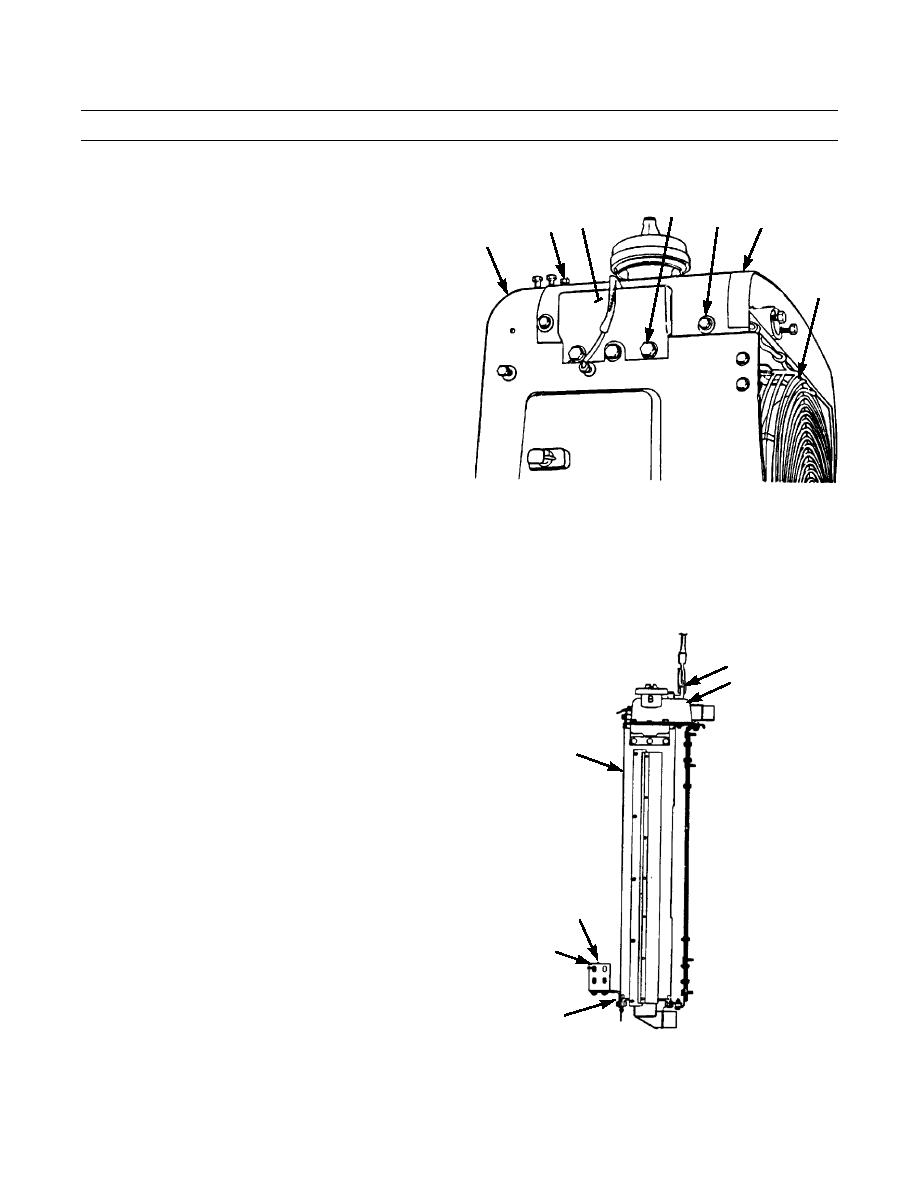
REMOVAL - CONTINUED
6.
Remove three capscrews (16), washers (17) and
16,17
19,20,21 22
23,24,25 18
bracket (18) on one side of radiator (10).
10
7.
Remove two capscrews (19), lockwashers (20) and
26,27,28
washers (21) from radiator cover (22). Discard lock-
(HIDDEN)
washers.
8.
Repeat steps 6 and 7 on other side of radiator (10).
9.
Remove three capscrews (23), washers (24) and lock-
washers (25) from top of radiator (10). Discard lock-
washers.
10.
Remove ten capscrews (26), washers (27) and shield
assembly (28).
11.
Remove three capscrews (29), washers (30) and
387-547
bracket (31) from bottom front of radiator (10).
12.
Repeat step 11 for bracket (32) on other side of radiator (10).
13.
Remove three capscrews (33) and washers (34) from front bottom of radiator (10).
14.
Install two lifting links (35) with 1/2-13 x 1-1/2 in. bolt in radiator top tank (36).
Use extreme caution when handling heavy
parts. Provide adequate support and use
assistance during procedure. Ensure that
35
any lifting device used is in good condition
36
and of suitable load capacity. Keep clear
of heavy parts supported only by lifting
device. Failure to follow this warning may
result in death or injury to personnel.
10
CAUTION
Ensure that wiring harness from horn,
located between radiator and support, is
clear of radiator. Lift radiator slowly and
carefully to avoid damage to wiring har-
ness.
NOTE
31,32
Radiator weighs 450 lb (204 kg).
15.
Attach nylon sling and suitable lifting device to lifting
29,30
links (35) and lift radiator (10) clear of machine.
33,34
387-963
0068 00-3
|
|
Privacy Statement - Press Release - Copyright Information. - Contact Us |