 |
|||
|
|
|||
|
|
|||
| ||||||||||
|
|
 TM 5-2410-237-23
ENGINE ASSEMBLY REPLACEMENT - CONTINUED
0021 00
REMOVAL - CONTINUED
WARNING
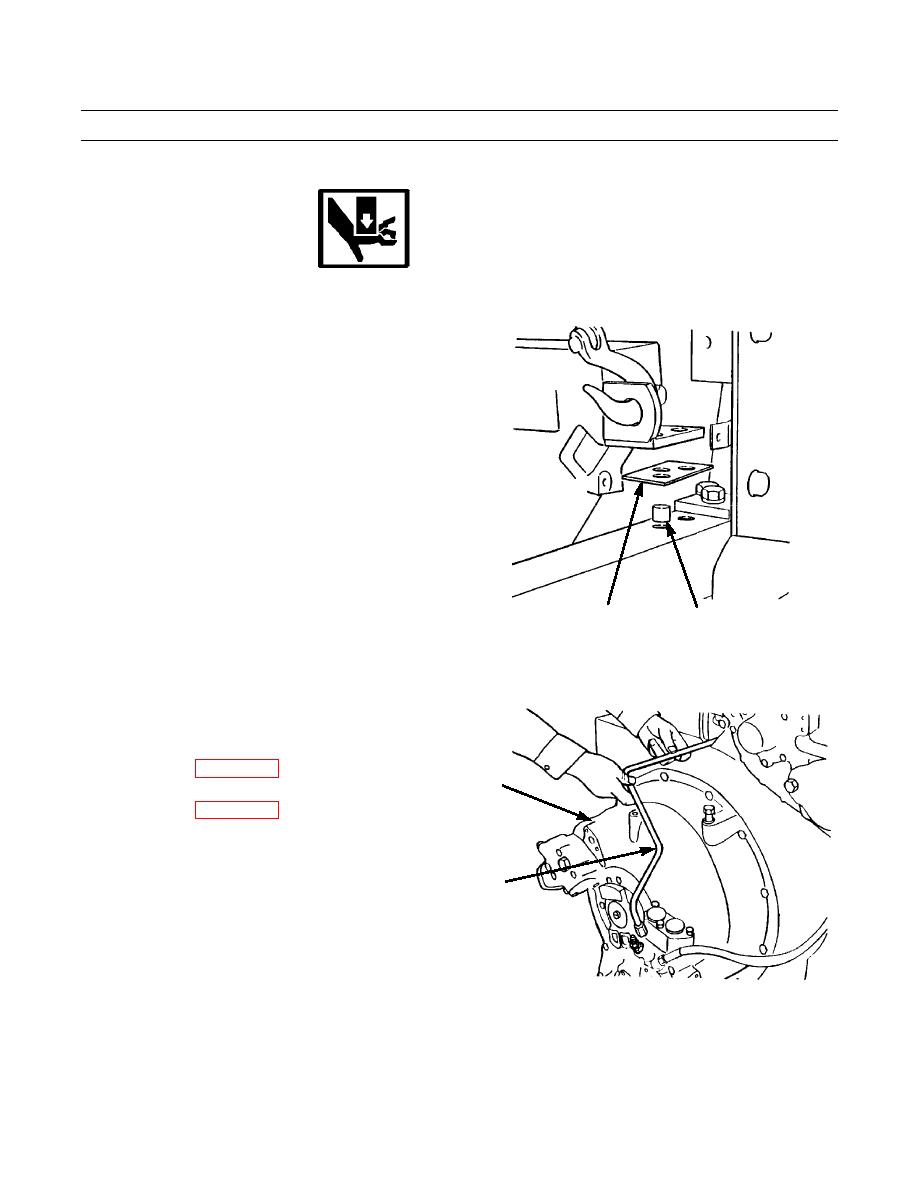
Be sure engine is clear before removing shims. Failure to follow this warning may result in injury to person-
nel.
26.
Remove shims (62) from locating pins (63) and rear
mounting surface on main frame.
INSTALLATION
CAUTION
Remove caps from lines and remove plugs
from openings as installations are made.
Wipe all line ends, line fittings and mount-
ing surfaces clean. Contamination of
hydraulic system could result in prema-
ture failure.
NOTE
387-087
62
63
Apply a light film of clean oil to all new O-
rings as they are installed.
1.
Place replacement engine in an engine stand suitable for transferring the following accessories from damaged engine:
a.
Remove transmission oil line (64) from damaged
engine.
b.
Remove torque divider (65) from damaged
engine (WP 0115 00).
65
c.
Install torque divider (65) onto replacement
engine (WP 0115 00).
d.
Install transmission oil line (64) onto replace-
ment engine.
e.
Remove all clamps or tiedown straps that attach
64
STE/ICE harness to engine and remove harness
from starter, alternator and tach drive. Tag all
cables as to their location and remove STE/ICE
harness from engine.
f.
Install STE/ICE wiring harness to replacement
engine and connect wires to starter, alternator,
387-088
and tach drive on replacement engine. Secure
harness with clamps or new tiedown straps.
2.
Position shims (62) in place on rear mount surface on main frame. Be sure locating pins (63) are in position on main
frame.
0021 00-8
Change 1
|
|
Privacy Statement - Press Release - Copyright Information. - Contact Us |