 |
|||
|
|
|||
|
|
|||
| ||||||||||
|
|
 9
TM 9-2320-312-24-2
Truck Engine
Disassembly and Assembly Section
Installation Procedure
NOTICE
Keep all parts clean from contaminants.
Contaminants may cause rapid wear and shortened
component life.
NOTICE
Care must be taken to ensure that fluids are contained
during performance of inspection, maintenance, test-
ing, adjusting and repair of the product. Be prepared to
collect the fluid with suitable containers before open-
ing any compartment or disassembling any compo-
nent containing fluids.
g00618383
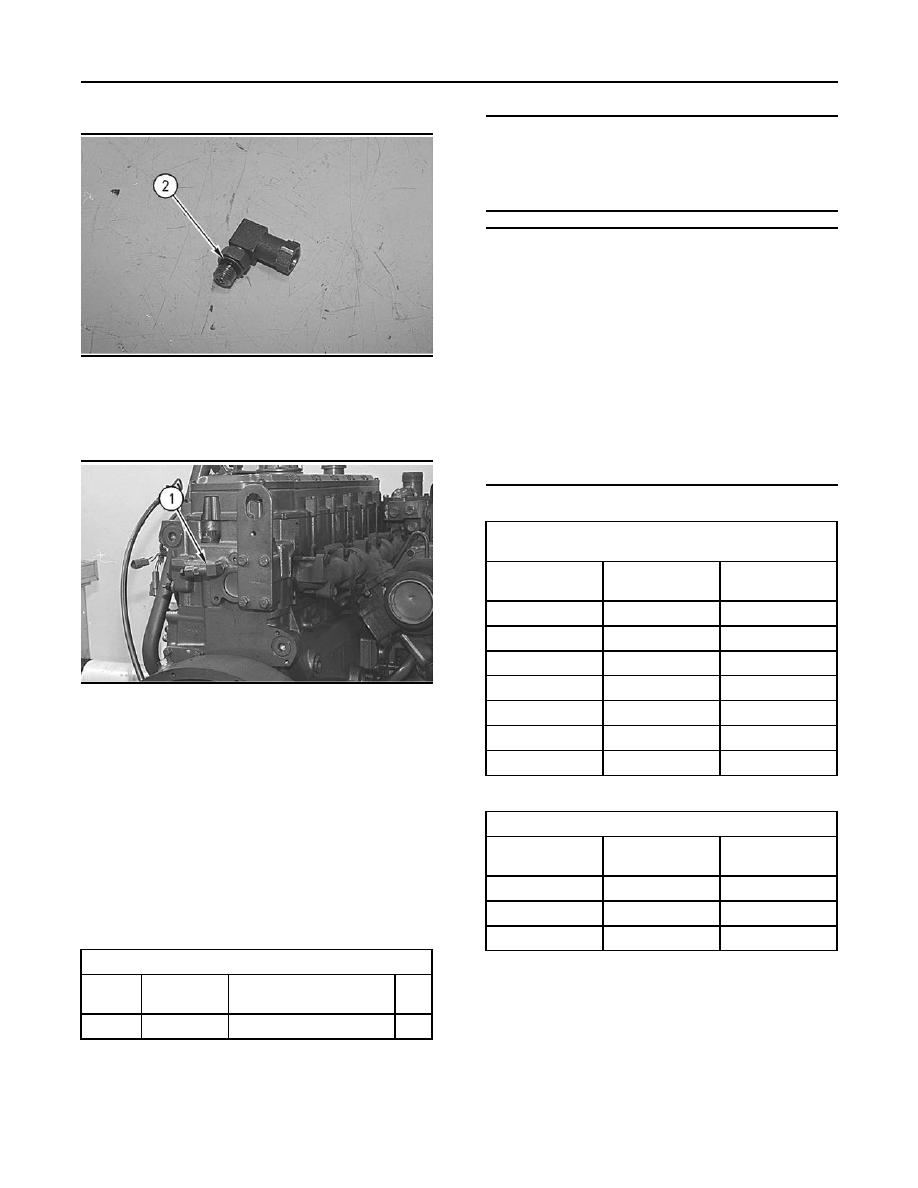
Illustration 15
Refer to Special Publication, NENG2500, "Caterpillar
Tools and Shop Products Guide" for tools and supplies
1. Ensure that the orifice in fuel pressure regulator
suitable to collect and contain fluids on Caterpillar
(1) is open and clean. Install a new O-ring seal
products.
(2) on fuel pressure regulator (1).
Dispose of all fluids according to local regulations and
mandates.
Table 3
Tools For Cleaning Carbon Deposits From
The Injector Sleeve Bores
Part Number
Part
QTY
Description
4C-5027
1
Tap Wrench
4C-6161
1
Tube Brush
4C-6774
1
Vacuum Gun Kit
1
8T-7765
Hand Pad
g00618385
Illustration 16
1U-5512
1
Cut & Polish Roll
2. Install fuel pressure regulator (1) in the rear of
9U-6102
1
Reamer
the cylinder head at a 10 degree angle from the
9U-6862
1
horizontal centerline.
Tapered Brush
Table 4
i01501703
Tools For Evacuating Fuel From The Cylinders
Unit Injector - Remove
Part Number
Part
Qty
Description
SMCS Code: 1290-011
1
4C-4057
Tube
Removal Procedure
1U-5718
1
Vacuum Pump
1U-5814
1
Bottle Assembly
Table 2
Required Tools
Part
Tool
Part Description
Qty
Number
1U-7587
A
1
Pry Bar
Start By:
a. Remove the valve mechanism cover. Refer to
Disassembly and Assembly, "Valve Mechanism
Cover - Remove and Install".
|
|
Privacy Statement - Press Release - Copyright Information. - Contact Us |
