 |
|||
|
|
|||
|
|
|||
| ||||||||||
|
|
 TM 9-2320-312-24-1
CAB WINDSHIELD AND WINDOW GLASS REPLACEMENT - CONTINUED
0148 00
CLEANING AND INSPECTION
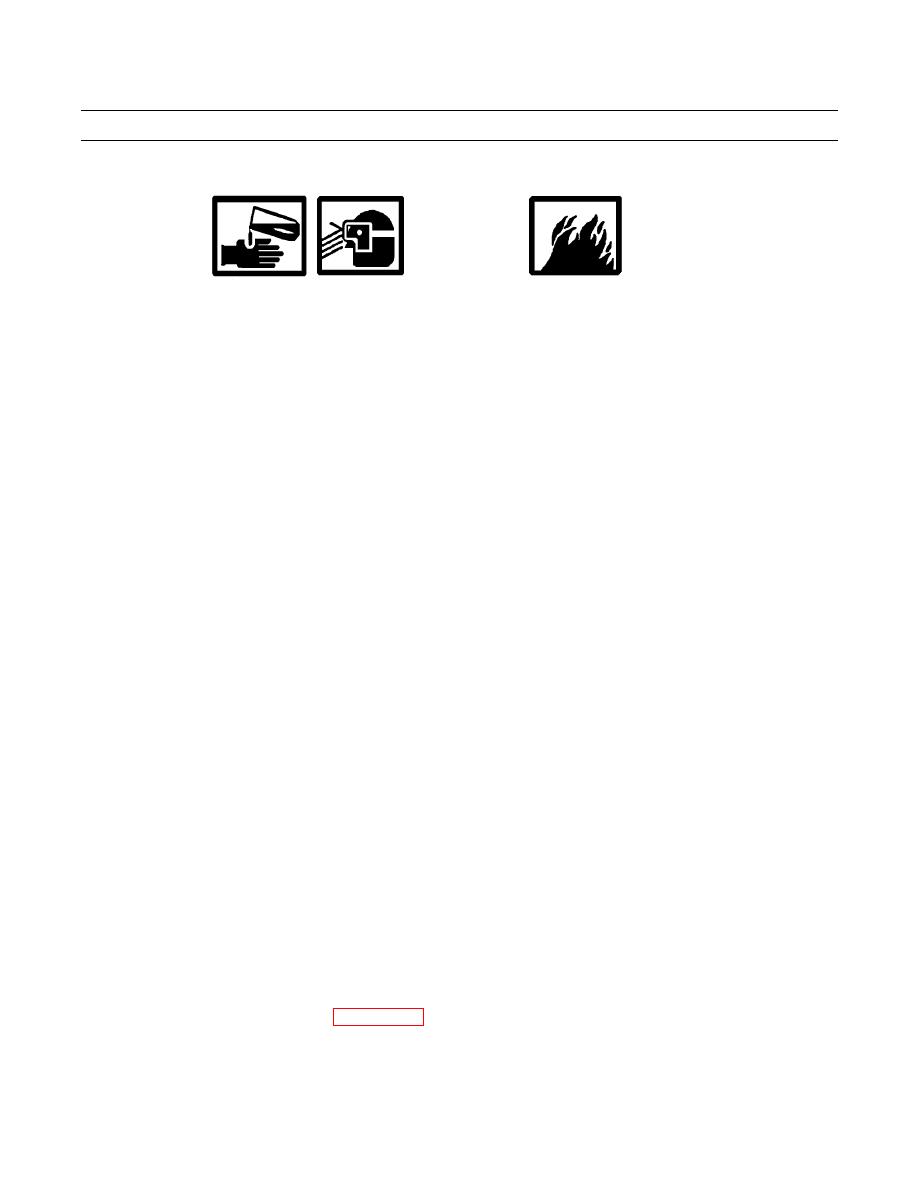
WARNING
Dry cleaning solvent MIL-PRF-680 Type III is an environmentally compliant and low toxic material. How-
ever, it may be irritating to the eyes and skin. The use of protective gloves and goggles is suggested. Use in
well-ventilated areas. Keep away from open flames and other sources of ignition.
1.
Clean window glass opening in cab of dust, dirt, and seal deposits. If any adhesive residue is noted, remove with dry
cleaning solvent. Dry surfaces thoroughly.
2.
If window glass has been removed under criteria outlined in Removal step 1, inspect area where crack originated for for-
eign objects. Inspect mounting flange of cab for irregularities. DO NOT attempt to install new window glass unless
damaged areas are repaired.
INSTALLATION
1.
Compare length of old seal (1) to new bulk seal and cut new seal to same length.
NOTE
Lubricate surface of seal and opening in cab with a detergent and water solution to aid installation.
2.
Starting at bottom-center of cab opening, install seal (1) to cab opening. Ensure that both ends of seal meet firmly and
evenly.
CAUTION
When handling window glass, use care not to nick or chip edge of glass. A damaged edge could cause cracking later.
3.
Starting at one bottom corner of window glass (2), pull back inner half of seal (1) and insert window glass into groove of
seal.
4.
Continue to pull inner half of seal (1) back, and gradually insert window glass (2) to seal. Allow inner half of seal to
overlap window glass.
5.
Starting at either end of seal (1), position edge of inner half of seal UNDER edge of outer half of seal to "lock" seal to
window glass (2).
6.
Continue "locking" seal (1) around entire length of seal.
7.
Apply adhesive over ends of seal (1), following manufacturer's instructions for application of adhesive.
8.
If removed, install windshield wiper (WP 0060 00).
END OF WORK PACKAGE
0148 00-3/4 Blank
|
|
Privacy Statement - Press Release - Copyright Information. - Contact Us |