 |
|||
|
|
|||
|
Page Title:
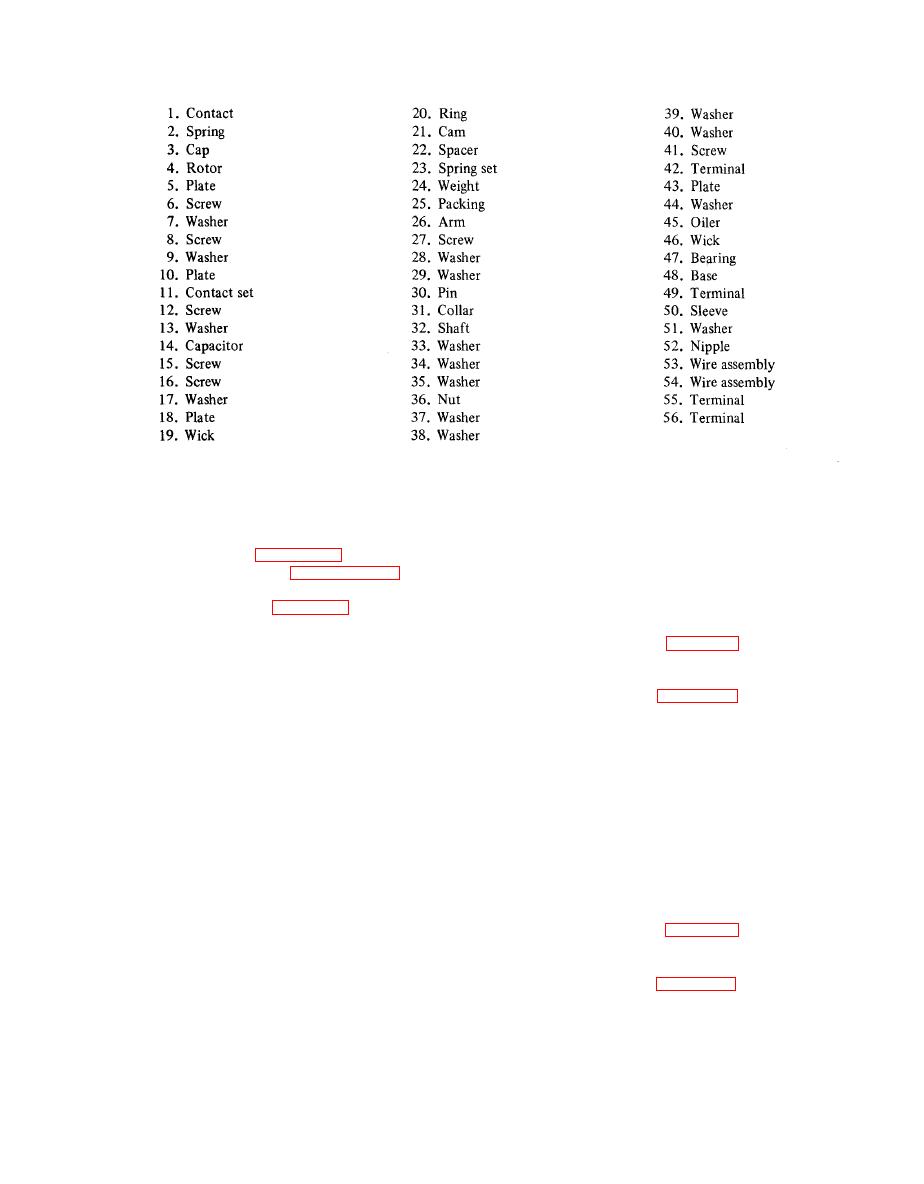
Figure 4-17. Distributor (Sheet 2 of 2) |
|
||
| ||||||||||
|
|
 TM 55-1740-200-14
Figure 4-17. Distributor (Sheet 2 of 2)
f. Remove two retaining clips (31) and washers (32).
4-265. WINDSHIELD WIPER (Codes C2 and D).
Remove connecting link (34) from arm (33) and pin (44).
Remove nut (45), washer (46) and pin (44) from shaft
4-266. REMOVAL. See figure 4-16 and remove the
windshield wiper as outlined in paragraph 4263.
(47).
4-267. DISASSEMBLY. See figure 4-21 and dis-
4-268. STOPLIGHT-TAILLIGHT.
assemble the windshield wiper as follows:
4-269. REMOVAL. Refer to Chapter 3, Section VI for
a. Remove three screws (1) and washers (2). Remove
r e m o v a l instructions.
nut (24), washer (25) and remove motor assembly from
bracket assembly.
4-270. DISASSEMBLY. See figure 4-22 and dis-
assemble the stoplight-taillight as follows:
b. Remove two screws (4) and washers (5) and remove
cap (3). Remove thrust disk (6) and spring disk (7) from
a. Remove two screws (2) and remove red lens (l).
cap (3). Remove armature (8).
Remove lamp (3). Remove retaining clip (4).
b. Remove white lens (5) and gasket (6). Remove lead
c. Remove two screws (20) and screw (21) and remove
(7) from body (8).
cover (19). Loosen screw (16) and remove lead. Remove
gasket (22). Remove two screws (14) and washers (15)
4-271. FLOODLIGHT.
and remove capacitor (13) and gasket (18). Remove screw
(16) and washer (17) from capacitor (13).
d. Remove housing (12). Remove two brushes (9), two
springs (10) and plate (11) from housing (12). Remove
4-272. REMOVAL. Refer to Chapter 3, Section VI for
plate (23), nut (26), gear (27), shaft (28) and washer (29)
removal instructions.
from housing (30).
4-273. DISASSEMBLY. See figure 4-23 and dis-
e. Remove nut (37), washer (38), driver (39), boot
assemble the floodlight as follows:
(40), nut (41), washer (42) and washer (43) from shaft
(47). Remove two screws (35) and washers (36) and
a. Remove nut (7) and washer (8) and remove bracket
remove assembled parts from bracket (48).
(6) from housing (10).
4-51
|
|
Privacy Statement - Press Release - Copyright Information. - Contact Us |