 |
|||
|
|
|||
|
|
|||
| ||||||||||
|
|
 TM 5-2410-237-23
WINCH ASSEMBLY REPAIR - CONTINUED
0245 19
ASSEMBLY - CONTINUED
WARNING
Use extreme caution when handling heavy parts. Provide adequate support and use assistance during pro-
cedure. Ensure that any lifting device used is in good condition and of suitable load capacity. Keep clear of
heavy parts supported only by lifting device. Failure to follow this warning may result in injury or death.
NOTE
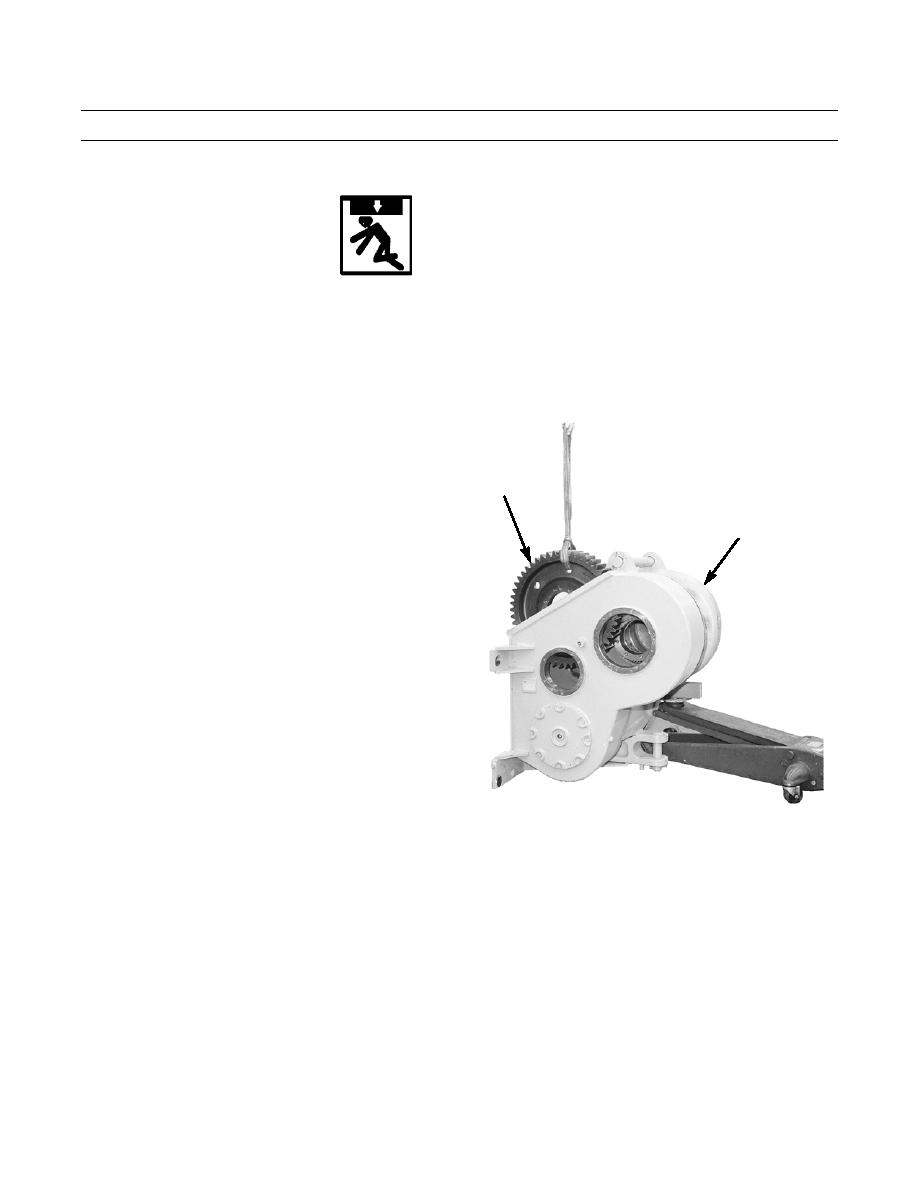
Drive gear weighs 126 lb (57 kg).
o.
Fasten lifting equipment to drive gear (29) and
position drive gear in case (5). Place block of
wood against drive gear to hold in position.
29
5
421-0320
p.
Turn drive gear (29) until two forcing screw holes are aligned vertically.
q.
Fasten lifting bracket to upper forcing screw hole in drive gear (29) and fasten lifting equipment to lifting bracket.
r.
Lift drive gear (29) to align holes in gear with holes in drum support flange (33).
s.
Install two guide pins into drum support flange (33).
t.
Align spline of drive gear (29) with spline of drum support flange (33).
u.
Remove lifting bracket and guide pins.
v.
Look into left side of drum (30) and adjust floor jack until bearings in drum are aligned with shaft hole at right side
of case (5).
w.
Install bearing assembly on left side of drum shaft (34), install bearing cup (41), spacer (42), bearing cup (44),
bearing cone (40) and bearing cone (43).
x.
Install new O-ring (45) on drum shaft (34).
Change 1
0245 19-38
|
|
Privacy Statement - Press Release - Copyright Information. - Contact Us |
