 |
|||
|
|
|||
|
Page Title:
No. 1 Carrier Disassembly and Assembly. |
|
||
| ||||||||||
|
|
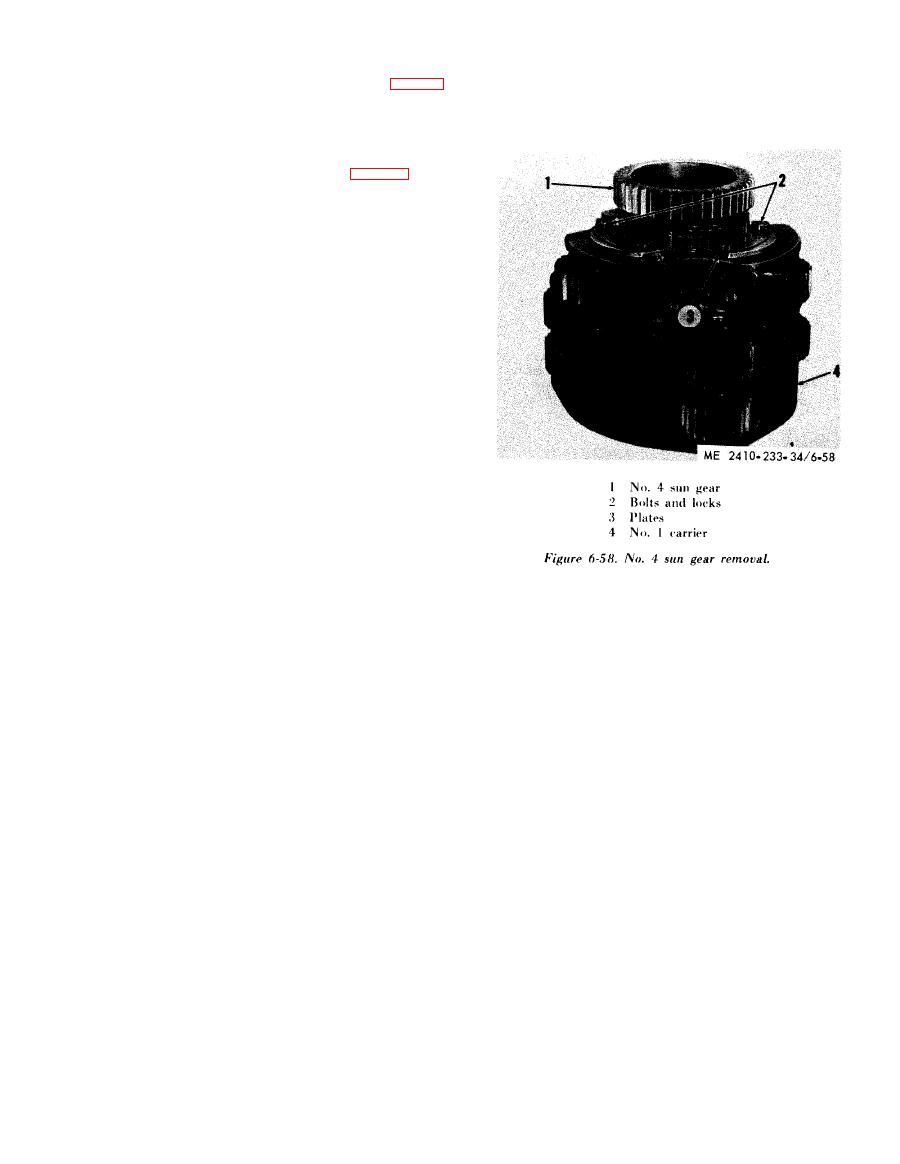 h. No. 1 Carrier Disassembly and Assembly.
(8) Assemble the carrier in the reverse order of
disassembly making certain the ball is in place in
(1) Position the No. 1 carrier (4, fig. 6-58)
each planet gear shaft and
correctly
aligned
with
with the No. 4 sun gear (1) on top.
the notch in the carrier.
(2) Remove No. 4 sun gear (1), bolts and locks
(2) and plates (3).
(3) Position the No.
1
carrier
on
its
side.
(4) pull the planet gear shaft (1, fig. 6-59) part
of the way out of the carrier and remove the No. 2
inner planet gear (9), washers
(10)
and
bearings
(8).
(5)
Pull
the
shaft
(1)
from
the
carrier
and
remove the No. 3 planet gears (7) complete with
bearings and washers.
NOTE
Use care to avoid loss of the balls (2) and (4) in each of
the
shafts
(3)
and
(1).
Two
bearings
(8)
and
two
washers
(10)
one
on
either
side
of
each
planet
gear,
are
provided
with
each
planet
gear
in
the
carrier.
Three
planet
gear
shafts
are
removed
from
each
end
of
the
2 outer
planet
gears
(5)
and
No.
1
carrier.
The
No.
planet
gears
(6)
can
be
removed
after
removing
the
planet
gears
(3).
shafts in the carrier and replace any that are worn
or
damaged.
(7) Inspect the support bearing in the carrier
for wear or damage and replace it if necessary, by
pressing it from the carrier, using a piece of pipe 4
inches in diameter and approximately 5 inches
long.
|
|
Privacy Statement - Press Release - Copyright Information. - Contact Us |
